Introduction
Every Android developer, whether brand new or returning after a break, eventually has to deal with the same task — getting the Android SDK properly installed and keeping it up to date. It sounds straightforward, but there are enough moving parts involved that it trips up a surprising number of people.
Knowing how to install and update Android SDK correctly is one of the most foundational skills in Android development. Get it right once and your entire development environment runs smoothly. Get it wrong and you spend hours debugging build errors that have nothing to do with your actual code.
This guide walks through the complete process to install and update Android SDK in 2026. It covers both methods — through Android Studio for developers who use an IDE, and through the command-line tools for those who prefer a leaner setup or are working in automated environments. Every step is explained clearly, with real examples, so you understand not just what to do but why you are doing it.
What the Android SDK Actually Is
Before jumping into installation steps, it is worth taking a minute to understand what you are actually installing when you install and update Android SDK on your machine.
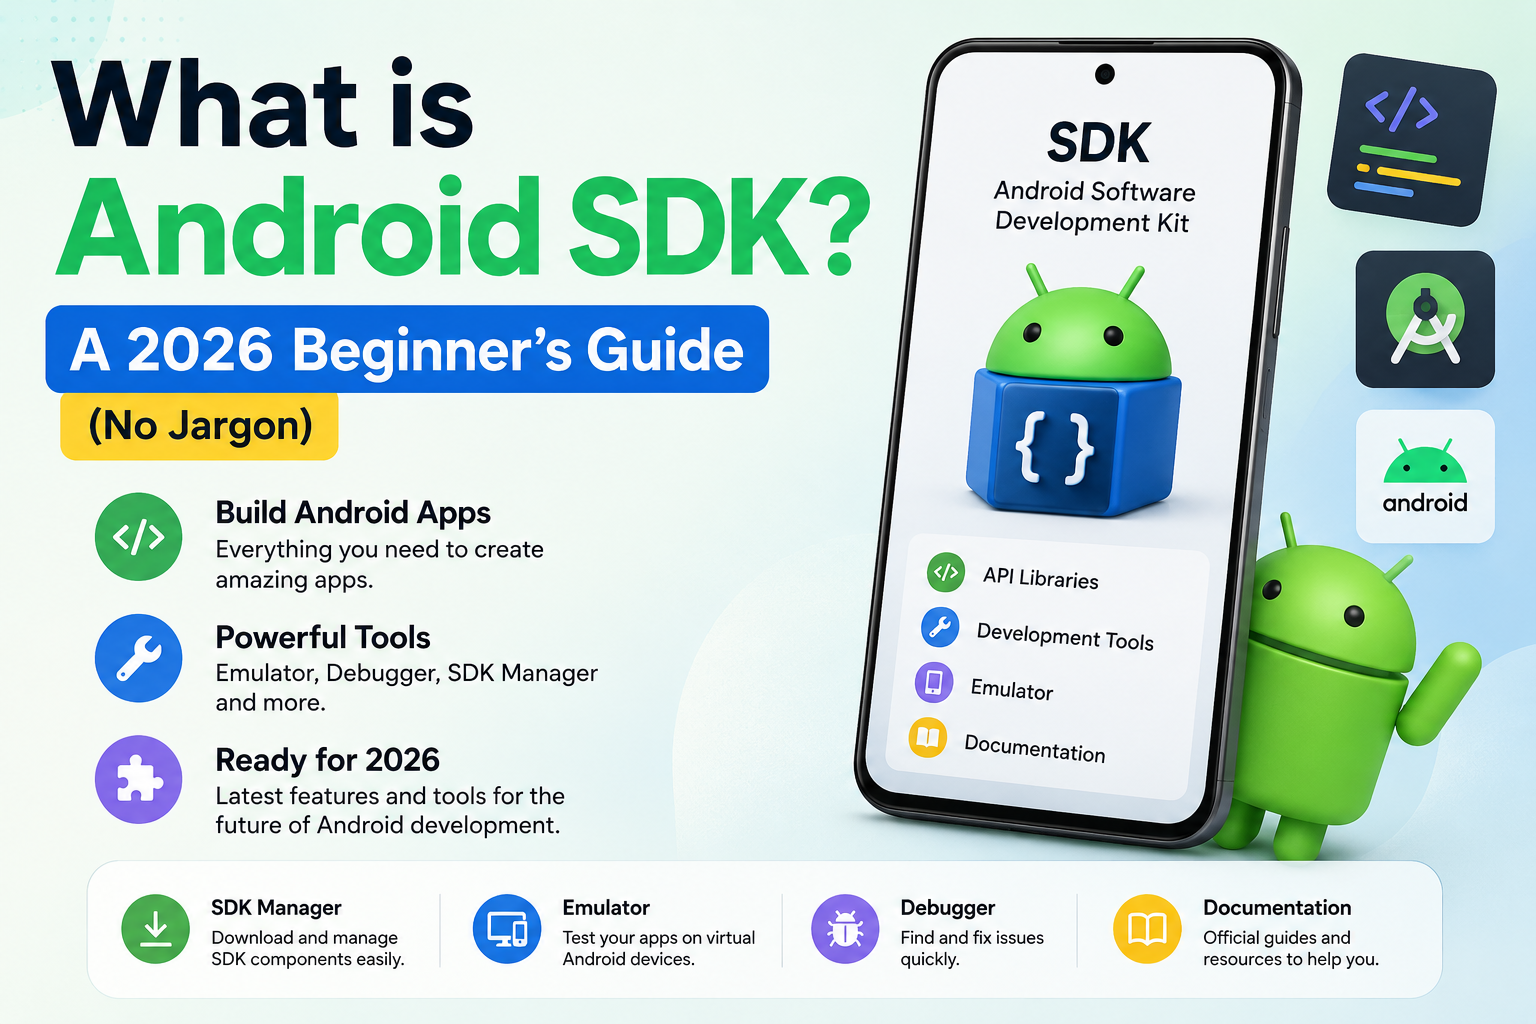
The Android SDK is not a single file or program. It is a collection of separate packages that work together. Some packages contain the Android platform APIs you write code against. Others contain the tools that compile your code into an APK. Others let you communicate with physical devices or run emulators.
When you install and update Android SDK, you are managing this collection of packages. Some you install once and rarely touch. Others need regular updates to stay compatible with newer Android devices and Google Play requirements.
Here is a quick breakdown of the main components:
SDK Platforms are the Android version packages — one for each API level. You need at least one installed for your projects to compile.
Build-Tools are compilation utilities that transform your source code into a runnable APK or AAB file.
Platform-Tools contains ADB (Android Debug Bridge) and fastboot — the tools for communicating with physical Android devices.
The Android Emulator lets you run virtual Android devices on your computer for testing.
System Images are the Android OS snapshots that emulators use to boot.
Understanding these components makes the rest of the install and update Android SDK process much less confusing.
Method 1 – Install Android SDK Through Android Studio
For most developers, Android Studio is the easiest way to install and update Android SDK. The IDE includes a built-in SDK Manager that handles downloads, updates, and removals through a graphical interface.
Downloading and Installing Android Studio
If you do not have Android Studio yet, start by downloading it from the official source:https://developer.android.com/studio
The download page detects your operating system automatically and offers the appropriate installer. Download the file and run it.
On Windows, run the .exe installer and follow the setup wizard. On macOS, open the .dmg file, drag Android Studio to your Applications folder, and launch it. On Linux, extract the .tar.gz file, navigate to the android-studio/bin/ directory, and run studio.sh.
When Android Studio launches for the first time, it runs a Setup Wizard. This wizard is your first opportunity to install and update Android SDK components. It will ask which SDK components to download. For most developers, the standard installation option covers everything needed to get started.
The wizard typically installs the latest SDK Platform, the latest Build-Tools version, Platform-Tools, and the Android Emulator automatically. Let it complete without interrupting — the download can take 10 to 20 minutes depending on your internet speed.
Accessing the SDK Manager in Android Studio
After the initial setup, you manage your SDK through the SDK Manager. To open it, click Tools in the top menu, then select SDK Manager.
The SDK Manager window has two main tabs. The SDK Platforms tab shows all available and installed Android versions. The SDK Tools tab shows utilities like Build-Tools, Platform-Tools, the Emulator, and other components.
This is where you will spend most of your time when you need to install and update Android SDK packages going forward.
Understanding the SDK Platforms Tab
The SDK Platforms tab is where you manage Android version packages. Each row represents one Android version.
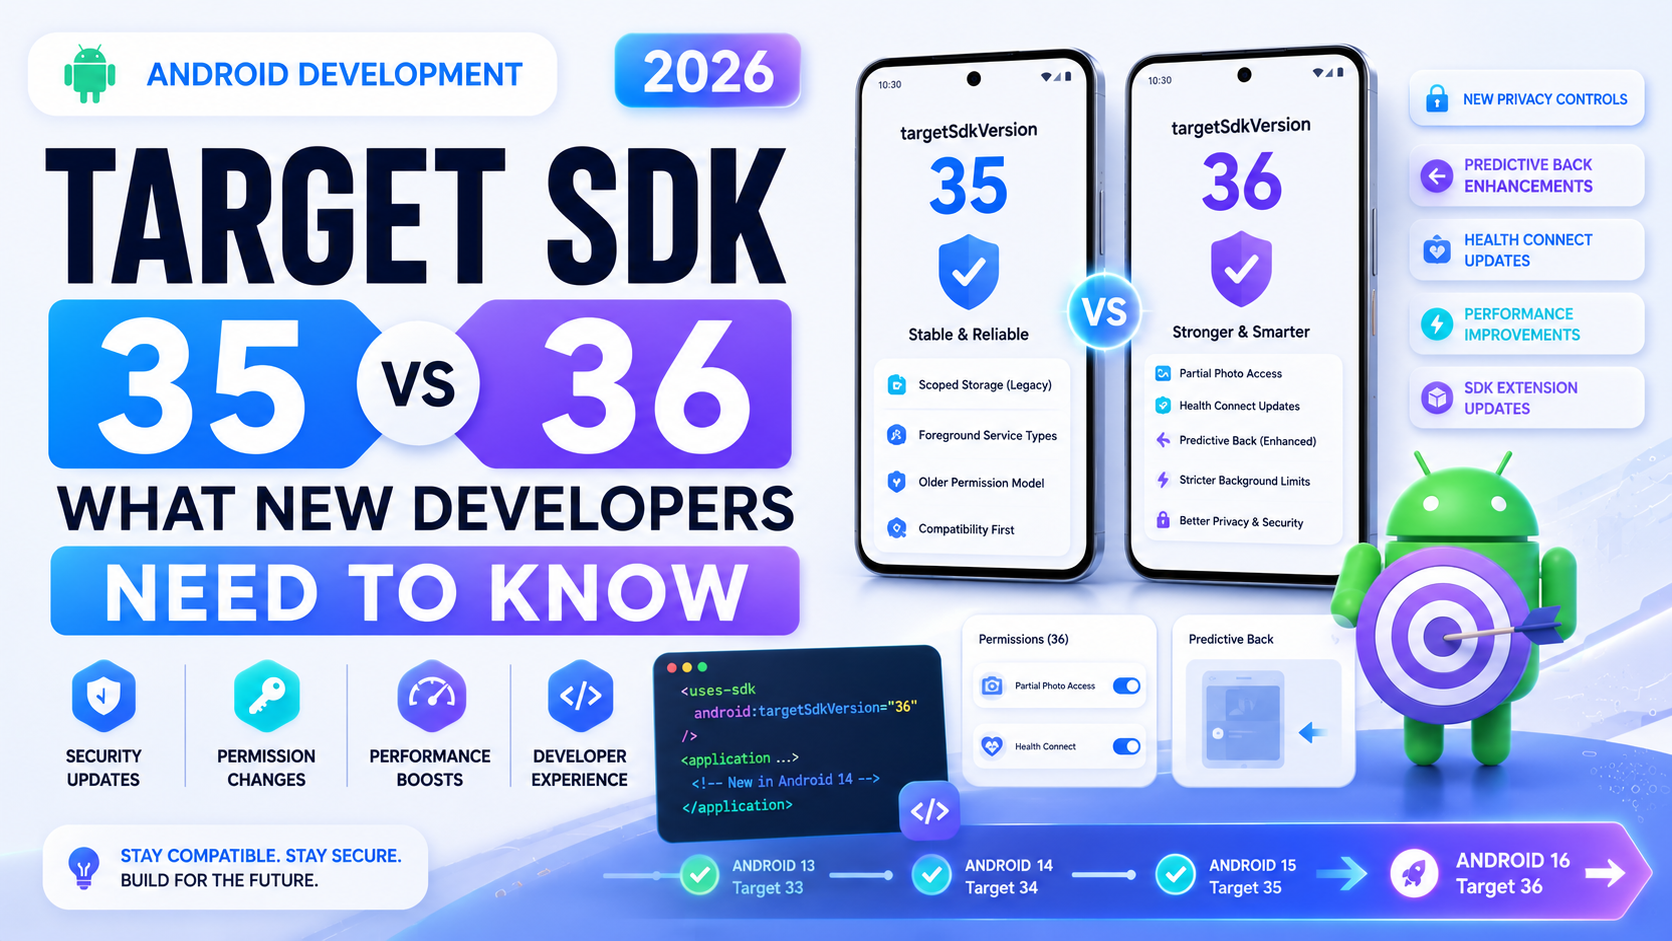
In 2026, you will typically see Android 16 (API 36) and Android 15 (API 35) as the most recent options at the top, with older versions below them. Installed packages show a checkmark. Packages available but not installed show an empty checkbox.
For most new projects in 2026, you need at minimum the platform matching your compileSdk setting. If your app’s build.gradle says compileSdk 35, you need the Android 15 platform installed.
You do not need every platform listed. Installing only what your projects actually use keeps your SDK lean. Check the box next to the platform you need and click Apply to download it.
Each platform package is 60 to 100 MB. The download is quick on a decent connection.
Understanding the SDK Tools Tab
The SDK Tools tab is where you install and update Android SDK utilities. This tab is slightly more complex than the Platforms tab because it has more varied package types.
The most important packages here:
Android SDK Build-Tools should always show the version matching your project’s buildToolsVersion. Click the dropdown arrow next to it to see individual versions. Keep the version your project needs and remove older ones you no longer use.
Android SDK Platform-Tools includes ADB. This should always be checked and kept at the latest version. It is a small package and staying current prevents connectivity issues with newer Android devices.
Android Emulator is the emulator binary itself. Keep this installed if you test on virtual devices.
Android SDK Command-Line Tools is the standalone terminal toolset. Install this if you want to manage the SDK from the command line.
Intel x86 Emulator Accelerator (HAXM) on Windows and Intel Macs, or Hyper-V Platform for newer Windows setups — these are the hardware acceleration layers that make the emulator run fast. Without one of them, emulator performance is practically unusable.
After making any changes in either tab, click Apply and then OK to confirm. The SDK Manager downloads and installs selected packages and removes unchecked ones.
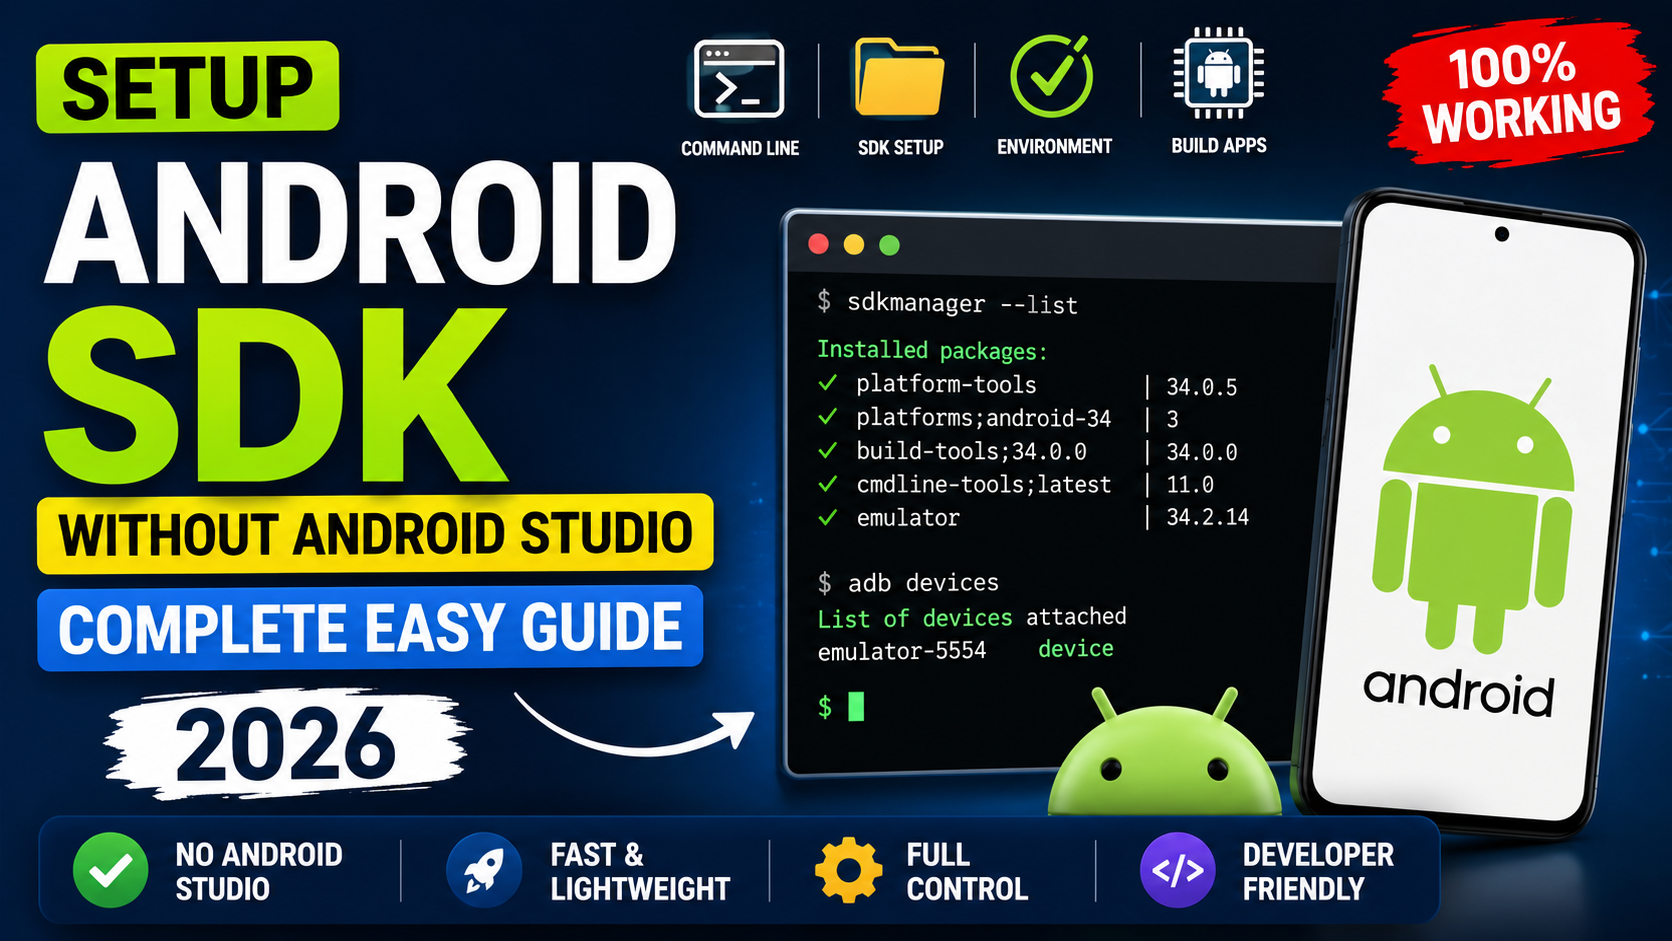
Method 2 – Install Android SDK Through Command-Line Tools
The second way to install and update Android SDK is entirely through the terminal, without Android Studio. This method is preferred for lightweight setups, CI/CD environments, Docker containers, and developers who use non-IDE editors.
Step 1 – Download the Command-Line Tools Package
Go to:
Scroll to the Command line tools only section and download the ZIP for your operating system.
Step 2 – Set Up the Directory Structure
Create a folder for your SDK:
On Linux or macOS: mkdir -p ~/android-sdk/cmdline-tools
Extract the downloaded ZIP. Move the extracted cmdline-tools contents into a subfolder named latest:
~/android-sdk/cmdline-tools/latest/bin/ ~/android-sdk/cmdline-tools/latest/lib/
This exact structure is required. The sdkmanager tool will not work without it.
Step 3 – Set Environment Variables
On macOS or Linux, add to your ~/.zshrc or ~/.bashrc:
export ANDROID_HOME=$HOME/android-sdk export PATH=$PATH:$ANDROID_HOME/cmdline-tools/latest/bin export PATH=$PATH:$ANDROID_HOME/platform-tools
Then reload:
source ~/.zshrc
On Windows, set ANDROID_HOME to your SDK folder path through System Properties, Environment Variables, and add the bin and platform-tools paths to the system PATH variable.
Verify by running:
sdkmanager –version
A version number confirms the tool is accessible.
Step 4 – Accept Licenses
Before you can install and update Android SDK packages through sdkmanager, you must accept Google’s license agreements:
yes | sdkmanager –licenses
Step 5 – Install Required Packages
Install the core packages needed for Android development:
sdkmanager “platform-tools” sdkmanager “platforms;android-35” sdkmanager “build-tools;35.0.0”
For emulator support:
sdkmanager “emulator” sdkmanager “system-images;android-35;google_apis;x86_64”
Or install everything at once:
sdkmanager “platform-tools” “platforms;android-35” “build-tools;35.0.0” “emulator” “system-images;android-35;google_apis;x86_64”
How to Update Android SDK Through Android Studio
Keeping your SDK updated is just as important as the initial installation. Outdated components can cause build failures, ADB connection issues, and compatibility problems with newer devices.
In Android Studio, open the SDK Manager through Tools and then SDK Manager. Both the SDK Platforms and SDK Tools tabs show an Update Available status next to packages that have newer versions.
To install and update Android SDK packages from this interface, check the boxes next to items showing updates available, then click Apply. Android Studio downloads and installs the updates automatically.
For Build-Tools specifically, newer versions appear at the top of the dropdown list. If your project still references an older version in build.gradle, updating means either installing the new version alongside the old one, or updating the buildToolsVersion in your Gradle config to match the new version.
Platform-Tools should be updated whenever an update is available. ADB compatibility with physical Android devices improves with each platform-tools release.
How to Update Android SDK Through the Command Line
For command-line users, updating all installed packages is a single command:
sdkmanager –update
This checks every installed package against the latest available version and downloads updates for anything that is behind.
To update a specific package only:
sdkmanager “platform-tools”
Running the package name again through sdkmanager installs the latest version of that specific package.
To check what is currently installed and whether updates are available:
sdkmanager –list_installed
The output shows your installed packages. Compare the revision numbers to what is listed on the Android developer site if you want to verify you are on the latest version.
Automating SDK updates is straightforward in CI environments. Adding sdkmanager –update to your pipeline setup script ensures every build uses the most current tools.
Setting the Correct SDK Path in Your Android Project
After you install and update Android SDK, your Android project needs to know where the SDK is located. This is handled through a file called local.properties in your project’s root directory.
When you open a project in Android Studio, it creates or updates this file automatically. But if you are working from the command line or on a fresh machine, you may need to create it manually.
The file contains one line:
On macOS or Linux:
sdk.dir=/home/yourname/android-sdk
On Windows:
sdk.dir=C:\Users\YourName\AppData\Local\Android\Sdk
Note the double backslash on Windows — this is required by the properties file format.
With local.properties correctly set, the Gradle build system can find your SDK and compile your project. Without it, every build attempt fails with an SDK location not found error.
Do not commit local.properties to version control. It contains a machine-specific path that is different on every developer’s computer. Most Android project .gitignore files already exclude it, but it is worth confirming.
Verifying Your Installation Is Working Correctly
After you install and update Android SDK packages, a few quick checks confirm everything is working before you start a project.
Check that ADB is accessible:
adb version
You should see the Android Debug Bridge version number printed. Something like version 1.0.41.
Check that sdkmanager sees your installed packages:
sdkmanager –list_installed
You should see at least platform-tools, one platforms entry, and one build-tools entry.
Connect an Android phone with USB Debugging enabled and check that ADB detects it:
adb devices
Your device should appear with a device status. If it shows unauthorized, check the phone screen for a USB Debugging authorization popup and tap Allow.
Build your Android project from the command line using the Gradle wrapper:
./gradlew assembleDebug
A BUILD SUCCESSFUL message confirms that the SDK is installed correctly, Gradle can find it, and your project compiles without errors.
Common Errors When You Install and Update Android SDK
A few issues come up regularly in the install and update Android SDK process. Here are the most common ones with their fixes.
“SDK location not found” during a Gradle build — The local.properties file is missing or has an incorrect path. Create it manually with the correct sdk.dir value pointing to your SDK folder.
“Failed to find Build Tools revision X.X.X” — The build-tools version your project requires is not installed. Open the SDK Manager and install the specific version, or update your Gradle config to match an installed version.
“Failed to find target android-XX” — The SDK Platform for that API level is not installed. Install it through the SDK Manager or with sdkmanager “platforms;android-XX”.
sdkmanager throws a Java error on startup — The JDK is not installed or is the wrong version. Install JDK 17, which is the recommended version for Android development in 2026.
ADB not finding a connected device — USB Debugging may be off on the phone, or ADB may need a restart. Run adb kill-server followed by adb start-server, then reconnect the device.
Emulator extremely slow or refuses to start — Hardware acceleration is not enabled. On Windows, enable Intel HAXM through the SDK Manager or activate Windows Hypervisor Platform. On Linux, install KVM. On Apple Silicon Macs, use ARM-based system images instead of x86 ones.
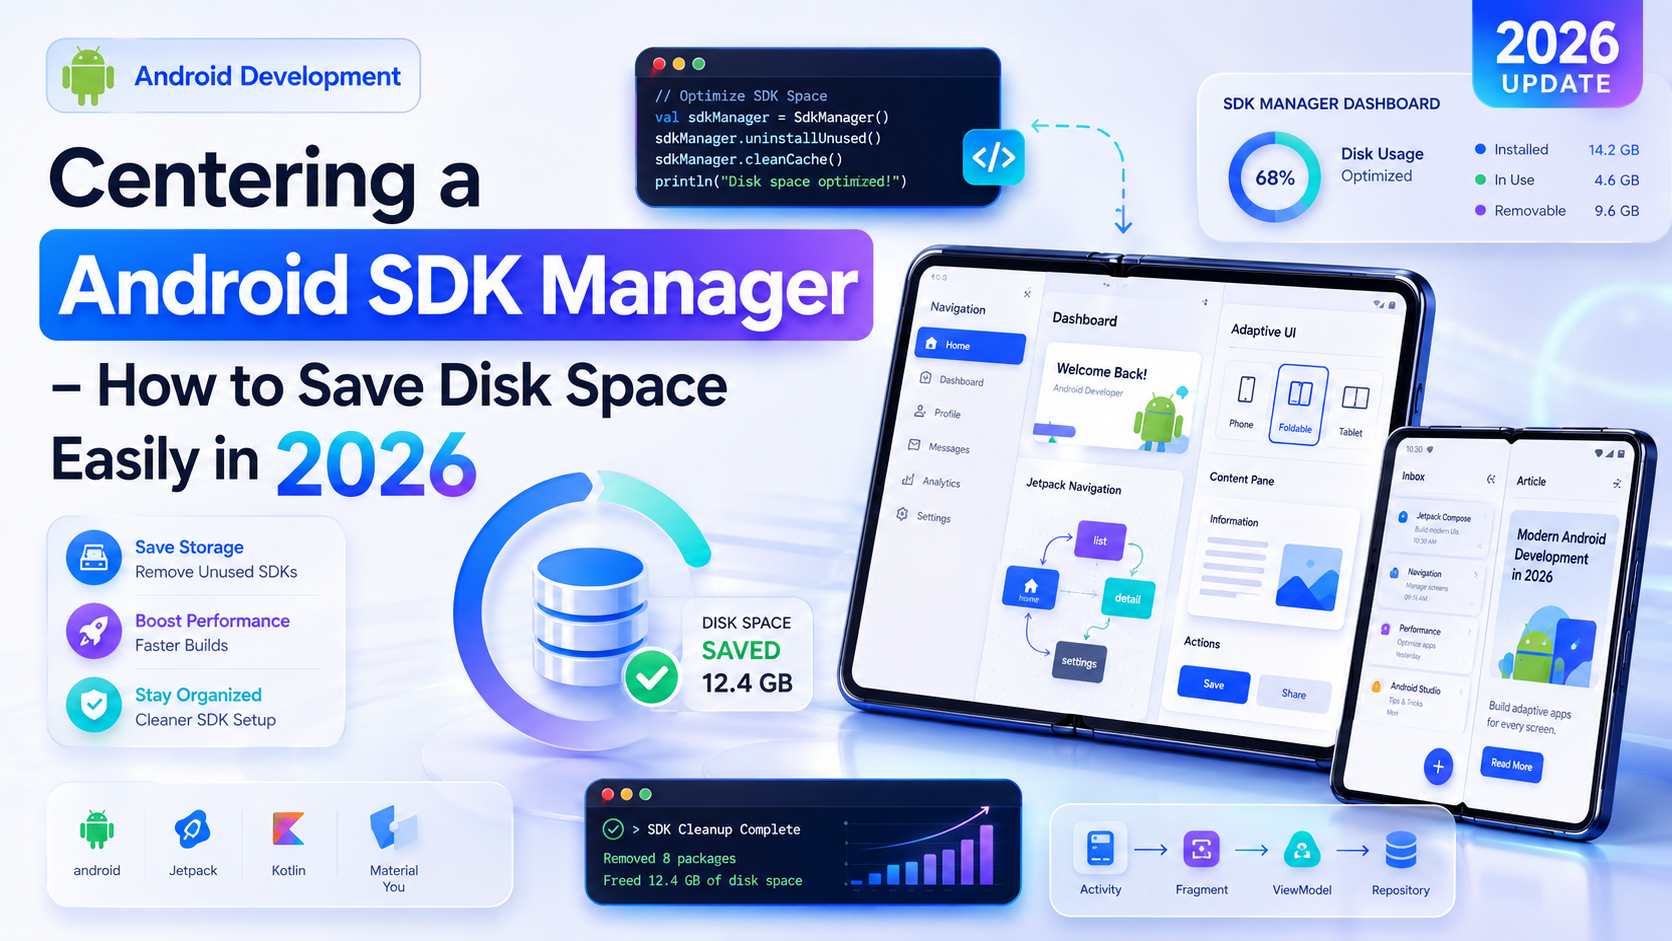
Keeping Your SDK Clean While Staying Updated
An important habit to develop alongside knowing how to install and update Android SDK is regular cleanup. Installing updates without removing outdated packages means your SDK folder slowly grows to tens of gigabytes over time.
After updating platform-tools or build-tools, check whether older versions are still installed. In Android Studio’s SDK Manager, look for outdated entries in the Build-Tools dropdown. In the command line, use sdkmanager –list_installed and then uninstall versions you no longer need:
sdkmanager –uninstall “build-tools;33.0.0”
Old system images are the biggest storage consumers. If you are no longer using an emulator that runs Android 12, uninstall its system image through the SDK Manager.
The goal is a clean, lean SDK that has exactly what your projects need and nothing extra. When you consistently install and update Android SDK with this mindset, the SDK folder stays manageable and build errors related to missing or mismatched packages become rare.
Final Conclusion
Knowing how to properly install and update Android SDK is not a one-time task — it is an ongoing part of maintaining a healthy development environment. The initial installation sets the foundation. Regular updates keep your tools compatible with the latest Android releases, devices, and Google Play requirements. Periodic cleanup prevents the SDK from becoming a bloated mess that slows down your machine.
Whether you use Android Studio’s graphical SDK Manager or the sdkmanager command-line tool, the underlying process to install and update Android SDK is the same — manage your platforms, build tools, platform tools, and system images deliberately rather than just accepting defaults and forgetting about them.
Taking the time to understand each component and what it does puts you in control of your setup. Build errors become easier to diagnose. New projects set up faster. And when a colleague asks why their build is broken, you will usually know exactly what is missing.
For the most current SDK package information and Android Studio updates, keep the official Android Studio download page and the sdkmanager documentation bookmarked. Both are maintained by Google and reflect the latest changes as they happen.