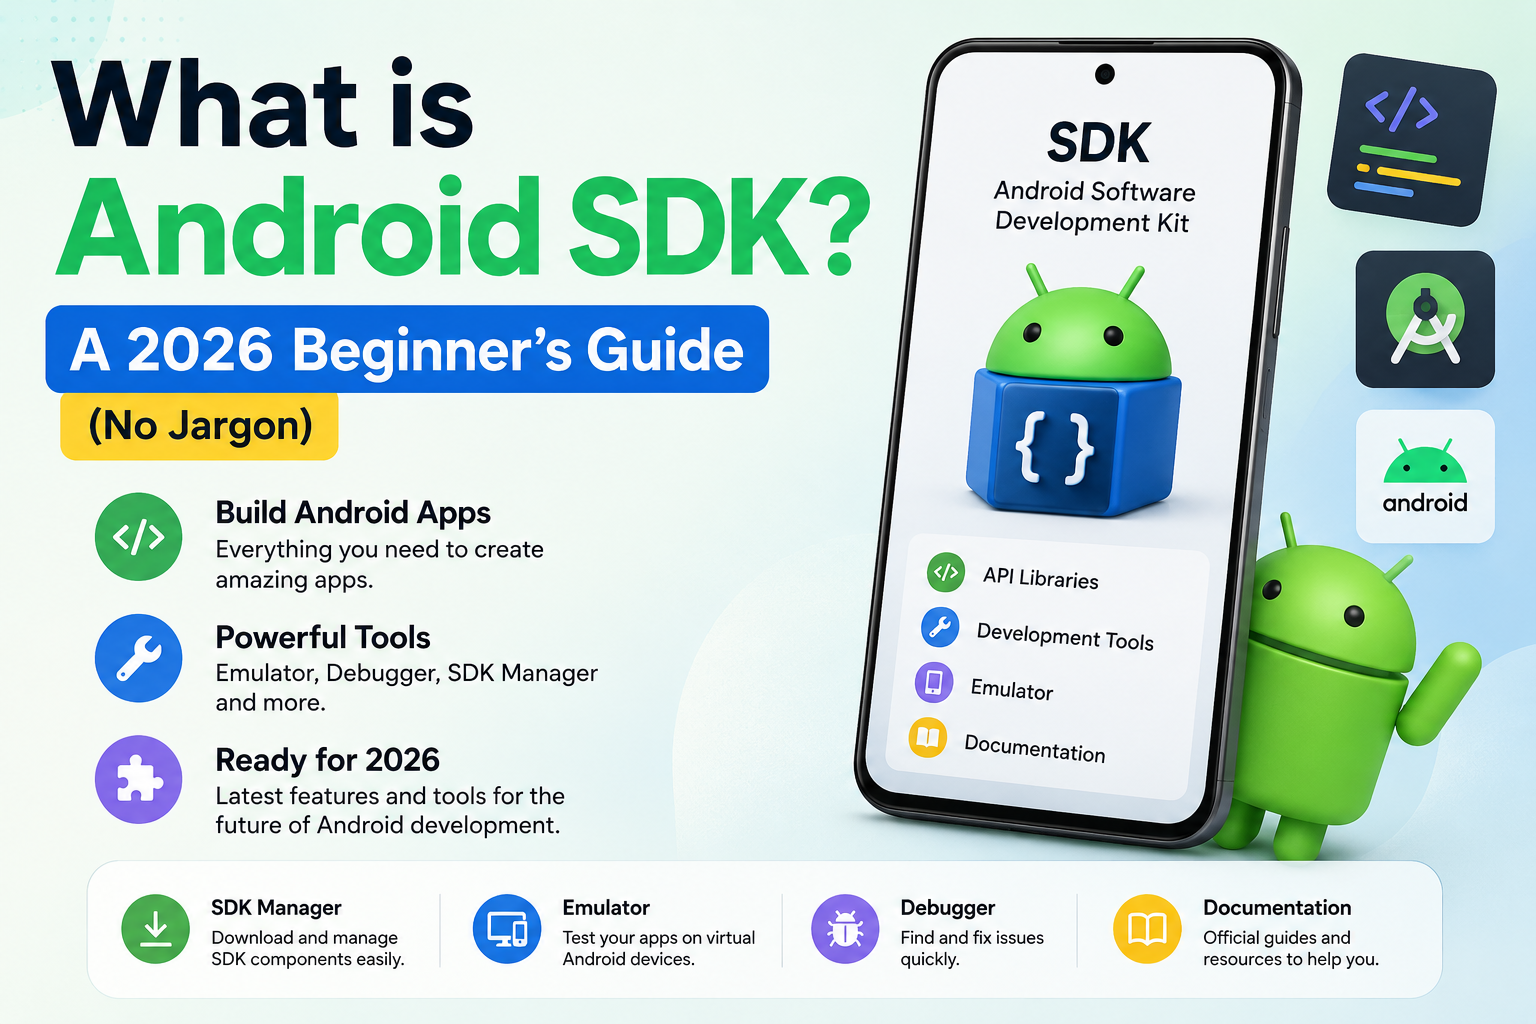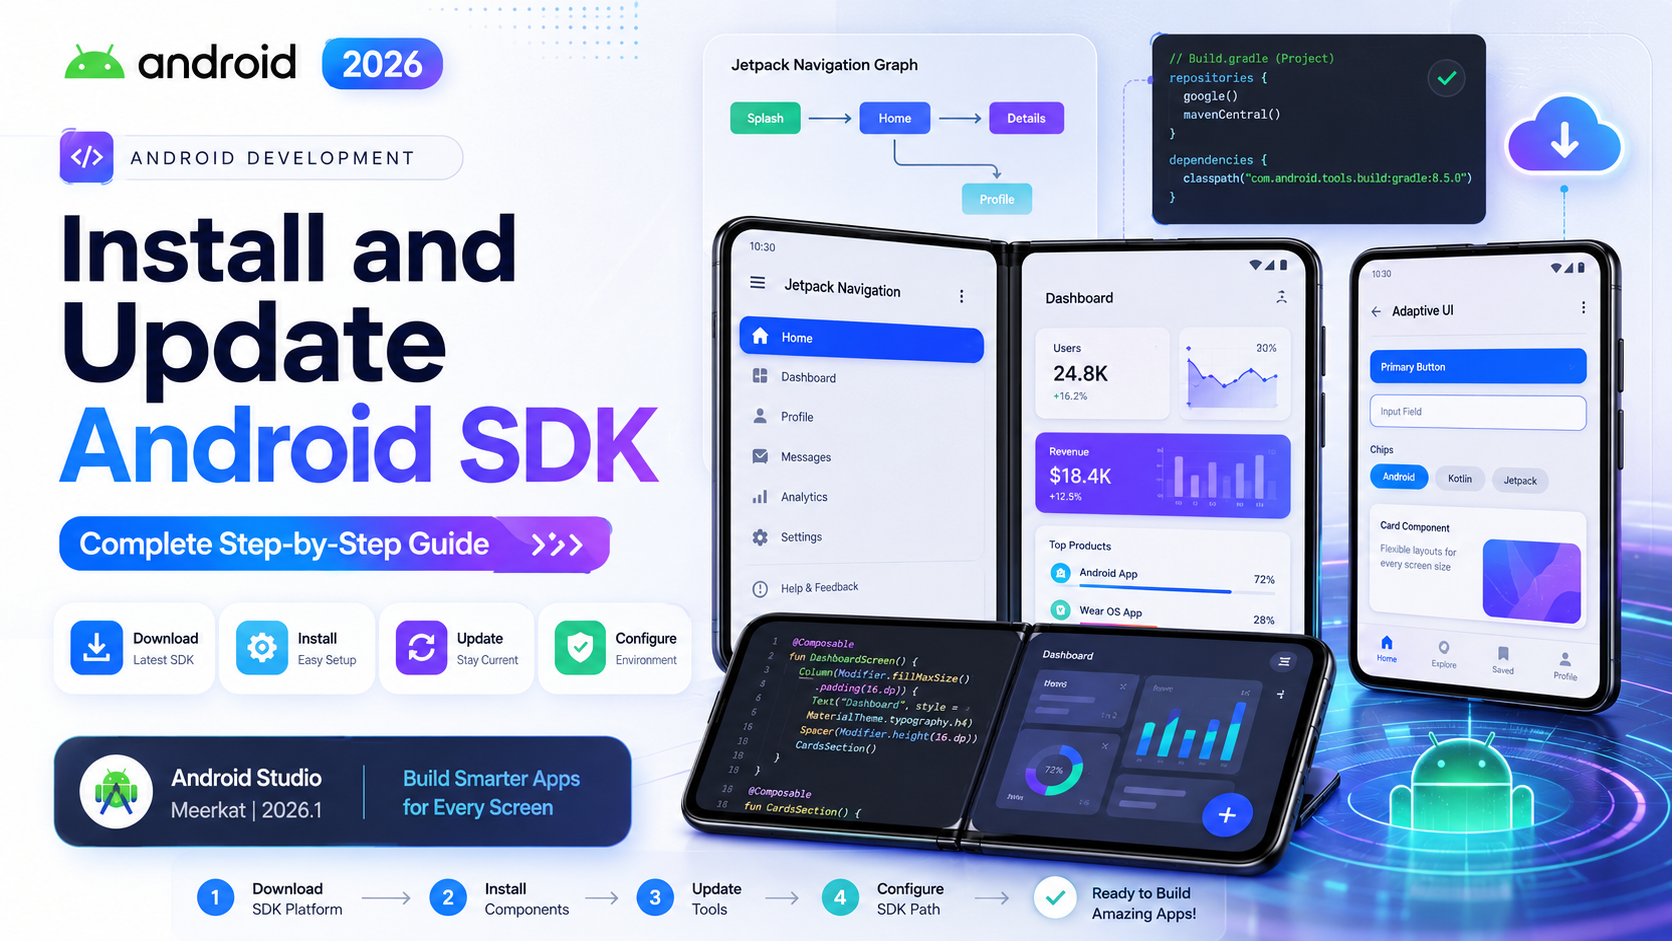
Introduction
Every Android developer, at some point, has stared at a red error message in Android Studio wondering what went wrong. You did not change anything major. You just opened a project, or updated something, or cloned a repo — and now the build is broken.
Most of the time, these frustrating moments come down to Android SDK Errors. These are not bugs in your app code. They are issues with the development environment itself — missing packages, wrong versions, misconfigured paths, or tools that are not talking to each other properly.
The tricky part is that Android SDK Errors often look scary on the surface but have surprisingly simple fixes once you know what you are looking at. This guide walks through the five most common ones developers run into in 2026, explains exactly why each one happens, and gives you clear steps to resolve them. No guesswork, no vague advice — just practical solutions based on real development experience.
Why Android SDK Errors Are So Common
Before jumping into specific errors, it helps to understand why these problems are so widespread in the first place.
Android development involves a lot of moving parts. Your project has a specific compileSdk version, a targetSdk version, a buildToolsVersion, and it depends on a particular version of Gradle and the Android Gradle Plugin. All of these components need to align with what is actually installed in your SDK folder.
When one piece is missing or mismatched, you get Android SDK Errors. This happens most often in three situations: when you open someone else’s project, when you update Android Studio or the SDK Manager, or when you set up a fresh development machine.
Understanding this context makes the errors much less intimidating. In nearly every case, the fix is either installing something that is missing, updating something that is outdated, or correcting a path that is pointing to the wrong location.
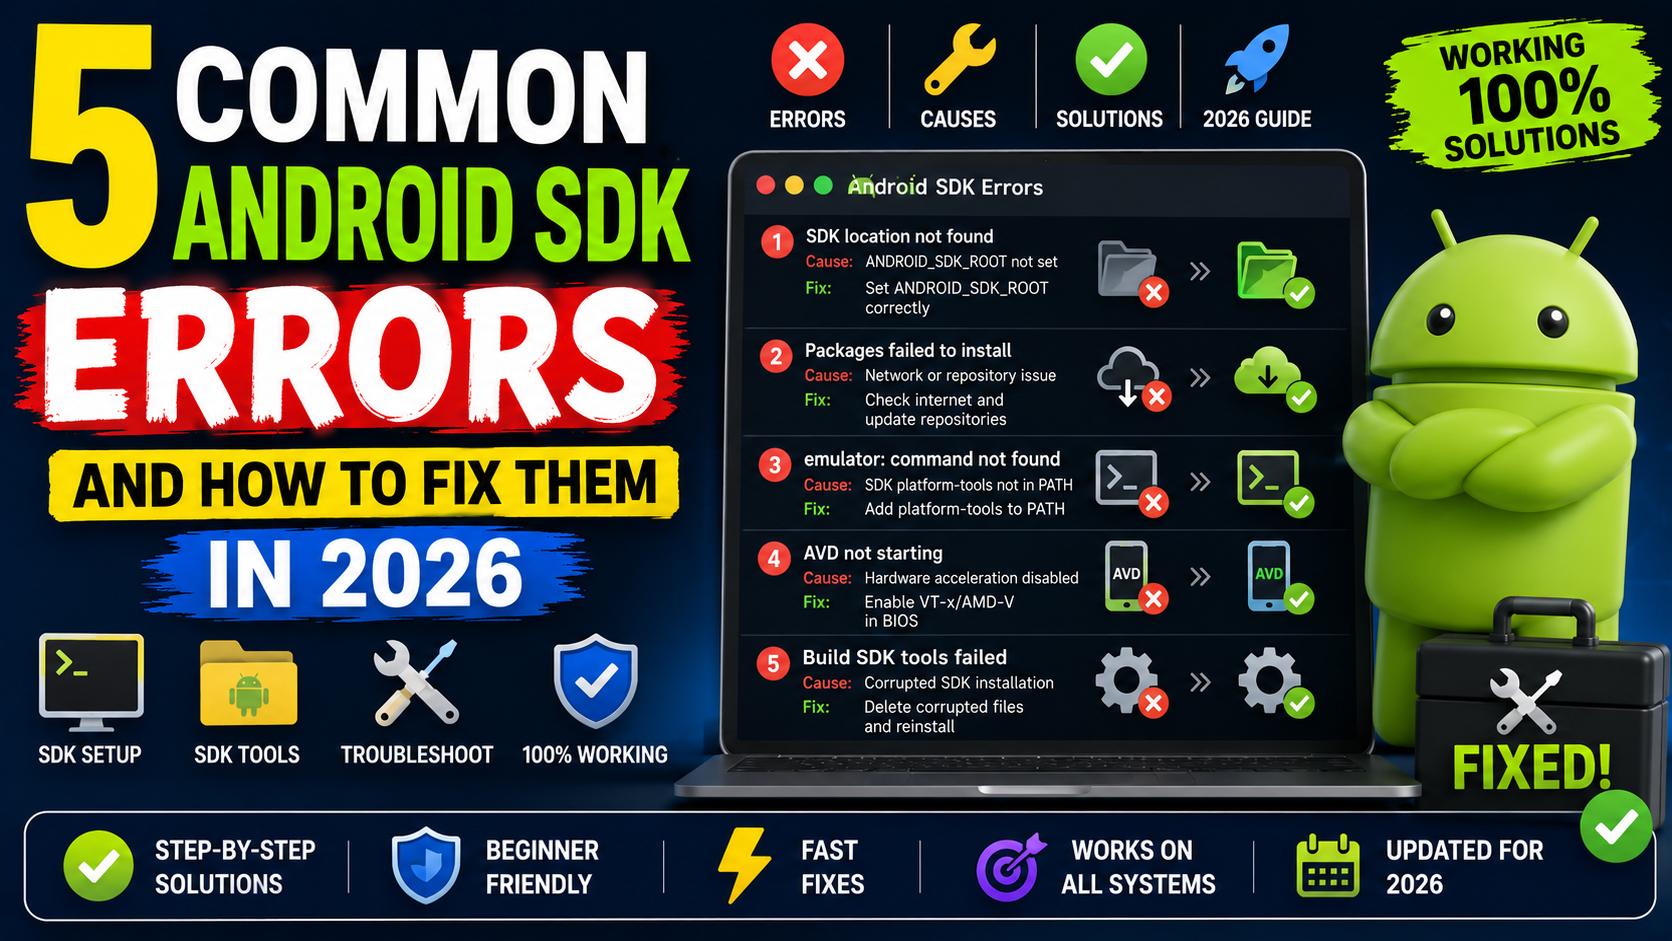
Error 1 – Failed to Find Build Tools Revision
This is probably the single most common of all Android SDK Errors that beginners and experienced developers both encounter regularly.
The full error usually looks something like this in your build output:
Failed to find Build Tools revision 33.0.1
Or it might say 34.0.0, or 32.0.0 — the number varies depending on what the project requires. The meaning is always the same: the build tools version specified in your project’s Gradle configuration is not installed on your machine.
Why This Happens
Every Android project has a build.gradle file at the app level. Inside it, there is a line like:
buildToolsVersion “33.0.1”
Gradle looks for that exact version in your SDK installation. If it is not there, the build stops immediately. This becomes a problem when you clone a project from GitHub, download a sample project, or receive a project from a colleague who had that version installed but you do not.
How to Fix It
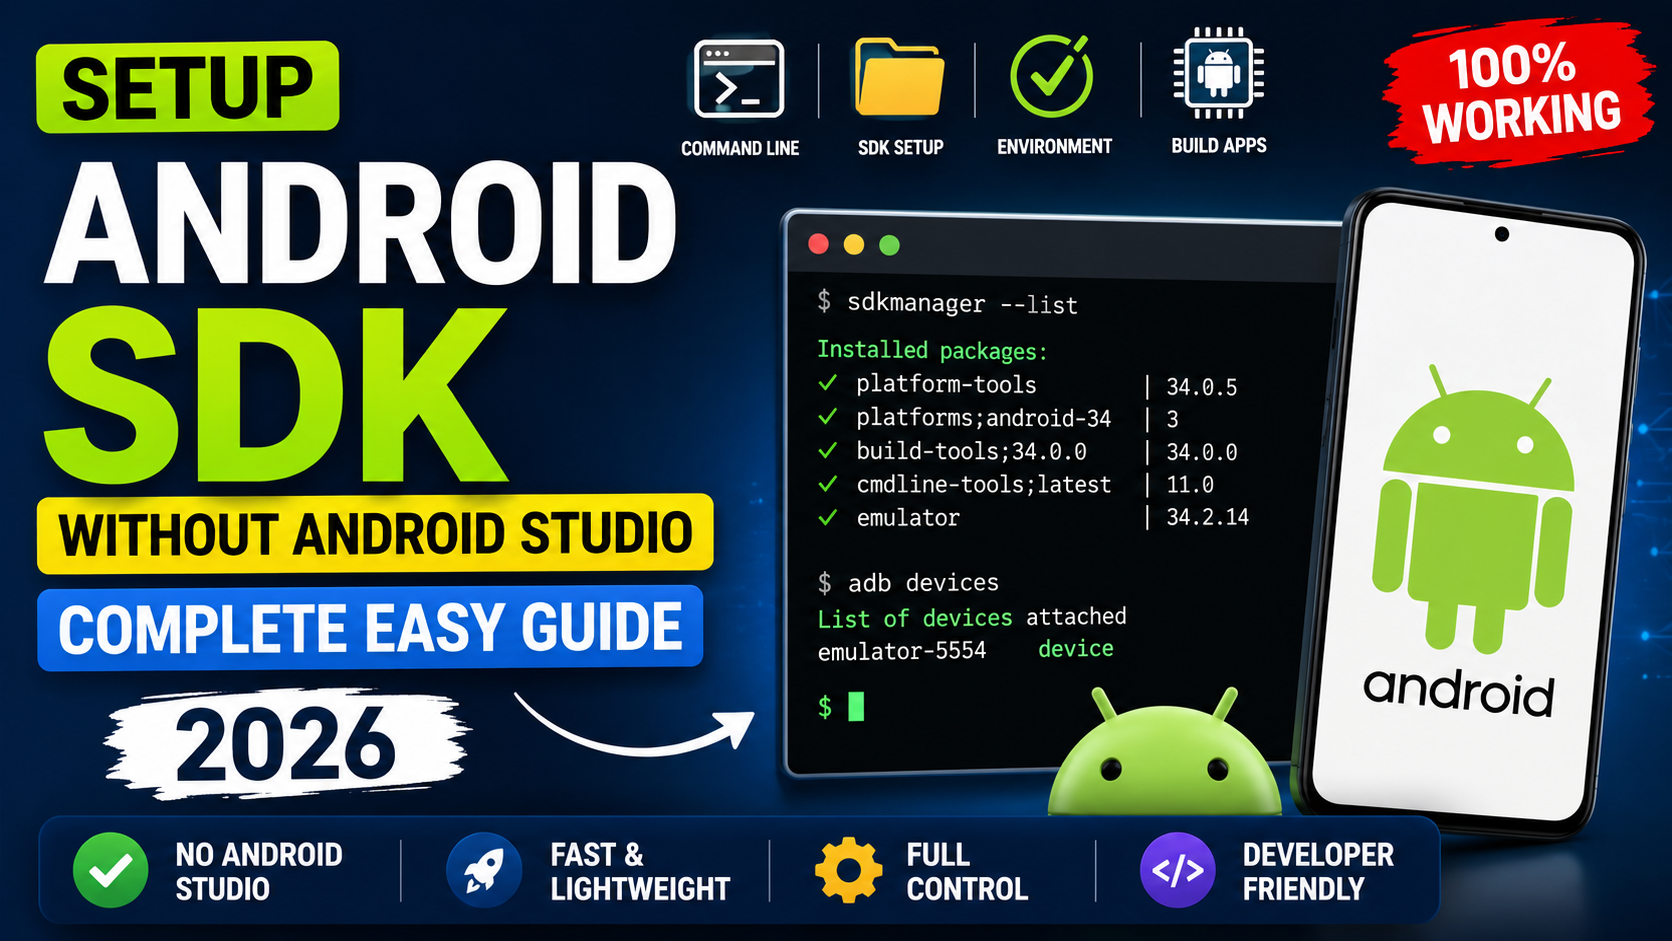
The fix is straightforward. Open Android Studio, go to Tools, then SDK Manager, then the SDK Tools tab. Look for Android SDK Build-Tools in the list. Click the dropdown arrow to expand it and you will see individual versions. Check the box next to the version your project needs and click Apply.
If you prefer the command line, run:
sdkmanager “build-tools;33.0.1”
Replace 33.0.1 with whatever version your project requires.
Alternatively, if you do not specifically need that exact version, you can open the app-level build.gradle and change the buildToolsVersion to match what you already have installed. This is fine for personal projects but not recommended when working in a team where everyone should use the same configuration.
Error 2 – Failed to Find Target with Hash String android-XX
This is another very common entry in the list of Android SDK Errors, and it is closely related to the first one but involves platforms rather than build tools.
The error appears in your build output as something like:
Failed to find target with hash string ‘android-34’
Sometimes it says ‘android-33’ or ‘android-32’ depending on your project’s compileSdk setting.
Why This Happens
Your project’s build.gradle or compileSdk setting specifies that it should be compiled against a specific Android API level. If the corresponding Android SDK Platform is not installed, Gradle cannot find the Android framework classes it needs to compile your code against.
This is an especially frequent Android SDK error when setting up a new computer or working on a project that targets a newer Android version than what you last installed.
How to Fix It
Go to Android Studio, open Tools, SDK Manager, and click the SDK Platforms tab. Find the Android version that corresponds to the API level in the error message. API 34 is Android 14, API 33 is Android 13, and so on.
Check the box next to the platform you need, then click Apply. Android Studio will download and install it.
From the command line:
sdkmanager “platforms;android-34”
Once the installation finishes, sync your project again by clicking the Sync Now link that appears at the top of your Gradle file, or go to File and then Sync Project with Gradle Files.
Error 3 – ADB Device Not Found or Unauthorized
This category of Android SDK Errors does not affect your build — but it completely prevents you from testing on a real physical Android device, which makes it just as disruptive.
The typical symptoms: you run adb devices and see nothing listed, or you see your device listed but with the status “unauthorized” instead of “device.”
Why This Happens
ADB (Android Debug Bridge) communicates between your computer and your Android device over a USB connection. For this to work, USB Debugging must be enabled on the device, and the device must trust your computer.
When you first connect a device to a new computer, the phone shows a popup asking “Allow USB debugging from this computer?” If you tap Deny, or if the popup appeared while the screen was locked and you missed it, ADB will show the device as unauthorized.
Another common cause is a stale ADB server. The ADB daemon sometimes gets into a broken state, especially after system updates or after connecting and disconnecting devices multiple times.
How to Fix It
Start with the simplest fix. On your Android phone, go to Settings, scroll down to About Phone, and tap Build Number seven times to enable Developer Options if you have not already. Then go back to Settings, open Developer Options, and make sure USB Debugging is turned on.
Disconnect and reconnect the USB cable. Watch your phone screen — a popup should appear asking you to authorize the connection. Tap Allow. If you are on the same computer regularly, check the box to always allow from this computer.
If the device still shows as unauthorized or is not appearing, run these two commands in your terminal:
adb kill-server adb start-server
Then reconnect your device and run adb devices again. This clears the ADB daemon and starts it fresh. This resolves the issue the majority of the time.
If you are using a USB hub, try connecting directly to a port on your computer. Some hubs cause ADB connection problems.
Also check that you are using a data-capable USB cable, not a charge-only cable. Many cheap USB cables only carry power and will never work for ADB connections no matter what you do on the software side.
Error 4 – SDK Location Not Found or ANDROID_HOME Not Set
This particular type of Android SDK Error shows up most often in two situations: when running Gradle builds from the terminal outside of Android Studio, or when setting up Android development tools on a machine for the first time without using Android Studio as the installer.
The error message might appear as:
SDK location not found. Define location with an ANDROID_HOME environment variable or by setting the sdk.dir path in your project’s local.properties file.
Why This Happens
Android build tools need to know where your SDK is installed. Android Studio handles this automatically when it manages the SDK. But when you run builds from the command line, through a CI/CD system, or in a fresh terminal session, the system needs to know the SDK path through either an environment variable or a project-level configuration file.
If neither exists, Gradle cannot locate the SDK and the build fails immediately before even starting.
How to Fix It
There are two ways to solve this particular Android SDK error.
The first way is to add a local.properties file to the root of your project. This file is automatically generated by Android Studio, but if it is missing or you are working on a machine where it was never created, you can make one manually. Inside it, add:
sdk.dir=/Users/yourname/Library/Android/sdk
On Windows it would look like:
sdk.dir=C:\Users\yourname\AppData\Local\Android\Sdk
Use your actual SDK installation path. Note the double backslash on Windows — this is required because of how the properties file format handles backslashes.
The second way is to set the ANDROID_HOME environment variable at the system level. On macOS or Linux, add this to your ~/.bashrc or ~/.zshrc:
export ANDROID_HOME=$HOME/Library/Android/sdk export PATH=$PATH:$ANDROID_HOME/platform-tools export PATH=$PATH:$ANDROID_HOME/cmdline-tools/latest/bin
On Windows, set it through System Properties, Environment Variables, and add ANDROID_HOME pointing to your SDK folder.
After setting environment variables, restart your terminal completely for the changes to take effect.
The local.properties approach is generally better for project-specific setups. The environment variable approach is better for system-wide tools and CI environments.
Error 5 – Emulator Not Starting or Hardware Acceleration Error
The fifth entry in our list of Android SDK Errors is one that specifically affects developers who rely on the Android emulator for testing. The emulator simply refuses to start, or it starts but runs so slowly that it is practically unusable.
Common error messages include:
Your CPU does not support required features (VT-x or AMD-V)
Or:
HAXM is not installed. Your emulator will not use hardware acceleration and will be significantly slower.
Or the emulator window opens but the Android boot screen never finishes loading even after 15 minutes.
Why This Happens
The Android emulator emulates an entire ARM or x86 Android device in software. Without hardware acceleration, this is extraordinarily slow. Modern emulators use virtualization extensions built into your CPU — Intel VT-x or AMD-V — to run much faster by offloading some of the work to hardware.
If hardware acceleration is disabled in your BIOS, or if the required software layer (HAXM on Intel systems, or Hyper-V on Windows) is not installed, the emulator either refuses to start entirely or crawls along at an unusable speed.
This is one of the more frustrating Android SDK Errors because the fix sometimes requires going into your computer’s BIOS, which feels intimidating to beginners.
How to Fix It on Windows
First, check if virtualization is enabled. Open Task Manager, click the Performance tab, and look at the CPU section. If you see Virtualization: Enabled, the hardware side is fine.
If it says Disabled, restart your computer and enter the BIOS setup (usually by pressing F2, F12, or Delete during startup depending on your machine). Look for Virtualization Technology, Intel VT-x, or AMD-V and enable it. Save and restart.
Once virtualization is enabled at the hardware level, install HAXM through the SDK Manager. Go to SDK Tools tab and check Intel x86 Emulator Accelerator (HAXM Installer). Alternatively, on newer Windows systems with Hyper-V, you can use Windows Hypervisor Platform instead of HAXM.
How to Fix It on macOS
On Apple Silicon Macs (M1, M2, M3, M4), hardware acceleration works differently. You need to use ARM-based system images rather than x86 ones. When creating an emulator, select a system image that shows “ARM 64” or “Apple Silicon” in the ABI column. These run natively on Apple Silicon and are actually very fast.
On Intel Macs, HAXM is the solution and can be installed through the SDK Manager just like on Windows.
How to Fix It on Linux
Linux uses KVM (Kernel-based Virtual Machine) for emulator acceleration. Install it with:
sudo apt-get install qemu-kvm libvirt-daemon-system libvirt-clients bridge-utils
Then add your user to the KVM group:
sudo adduser $USER kvm
Log out and log back in for the group change to take effect. After this, the Android emulator should detect KVM and use hardware acceleration automatically.
If you are still seeing slow emulator performance after enabling acceleration, also try using a Google Play Store system image versus a standard one. The non-Google-Play images are slightly lighter and boot faster.
A Few General Tips for Avoiding Android SDK Errors
Beyond fixing specific errors, a few habits can prevent many of these issues from appearing in the first place.
Always check what SDK packages a project requires before opening it. Most professional projects include a README file that lists the required SDK version, build tools version, and minimum Android API. Taking 30 seconds to read it saves you from a cascade of errors on first build.
Keep your platform-tools updated separately from your platforms. ADB especially gets updates that improve compatibility with newer Android devices. An outdated ADB version will sometimes fail to connect to devices running the latest Android releases.
Do not delete your local.properties file and do not commit it to version control. It contains machine-specific paths that are different on every developer’s computer. Most .gitignore templates for Android already exclude it, but it is worth verifying.
When multiple Android SDK Errors appear at once in the build output, fix them from top to bottom. Later errors are frequently caused by the first one, and fixing the root cause often makes several errors disappear at the same time.
Final Conclusion
Android SDK Errors are a normal part of development life, not a sign that something is fundamentally broken with your setup. Every developer hits them. The difference between someone who spends three hours debugging and someone who fixes it in five minutes is simply knowing what to look for.
The five errors covered in this guide — missing build tools, missing SDK platform, ADB device issues, SDK location problems, and emulator acceleration failures — cover the vast majority of SDK-related problems you will encounter in 2026. Each one has a clear cause and a reliable fix.
The more you work with the Android SDK, the more these solutions become second nature. Over time you will recognize an error message in the first line and already know the fix before reading the rest of it.
For the most current information on SDK components and known issues, the official Android Studio release notes and Android issue tracker are the best resources to check when you encounter something unusual.