
Introduction
If you are just getting started with Android development, one of the first things you will hear about is the Android SDK. But most beginners stop there. They download Android Studio, click a few buttons, and move on without really understanding what is happening behind the scenes. That is where most of the confusion starts later.
This guide is specifically about Android SDK Platforms and Tools — what they actually are, what each component does, why you need specific versions, and how to manage them properly in 2026. Whether you are building your first app or setting up a professional development environment, understanding Android SDK Platforms and Tools is one of the most foundational skills you can have as an Android developer.
We will go through everything step by step, using real-world examples from actual Android development, not textbook theory.
What Android SDK Platforms and Tools Actually Mean
A lot of beginners confuse these two things or treat them as one combined package. They are related, but they serve different purposes.
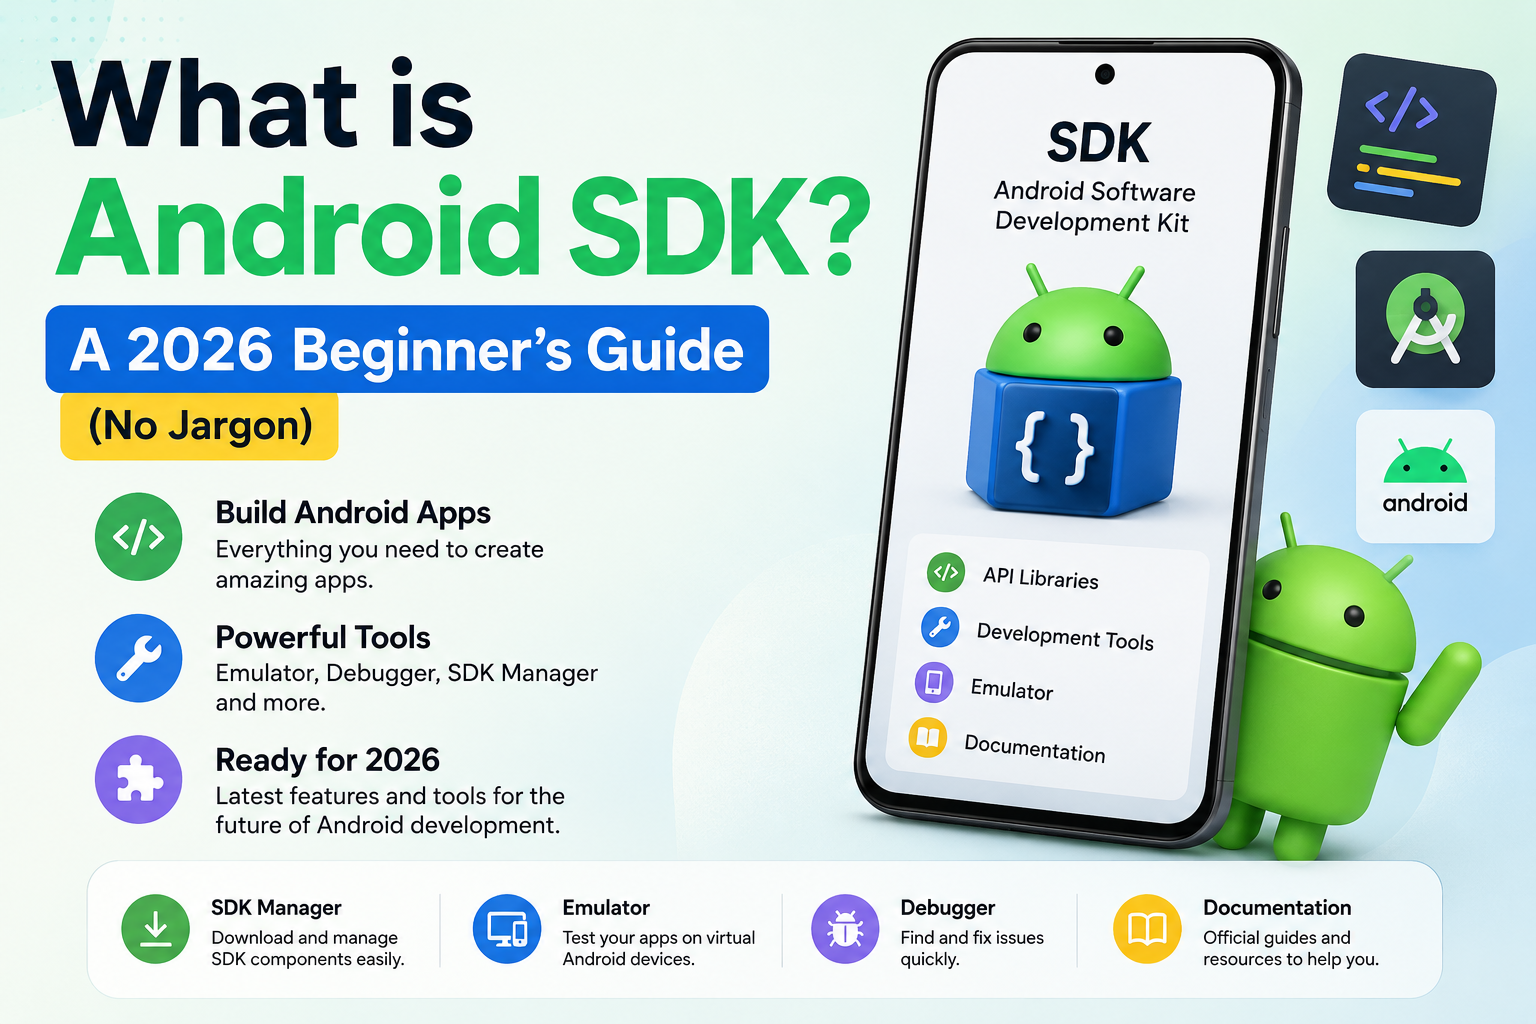
The Android SDK itself is the overall development kit. Inside it, there are different categories of components. Android SDK Platforms are the actual Android OS versions you are targeting — each one corresponds to an API level. Android SDK Tools are the executables and utilities that help you build, test, debug, and deploy apps.
Think of it this way. If you are building an app that supports Android 11 and above, you need the Android SDK Platform for API level 30 installed. The tools then help you compile your code, package it into an APK, push it to a device, and check if it’s running correctly.
Both parts of Android SDK Platforms and Tools are managed from the same place — either through the SDK Manager in Android Studio or through the command-line sdkmanager tool.
Understanding Android API Levels and Why They Matter
Every version of Android has a corresponding API level. This is just a number that developers use to identify which version of Android they are targeting or supporting.
Here is a quick reference for recent Android versions:
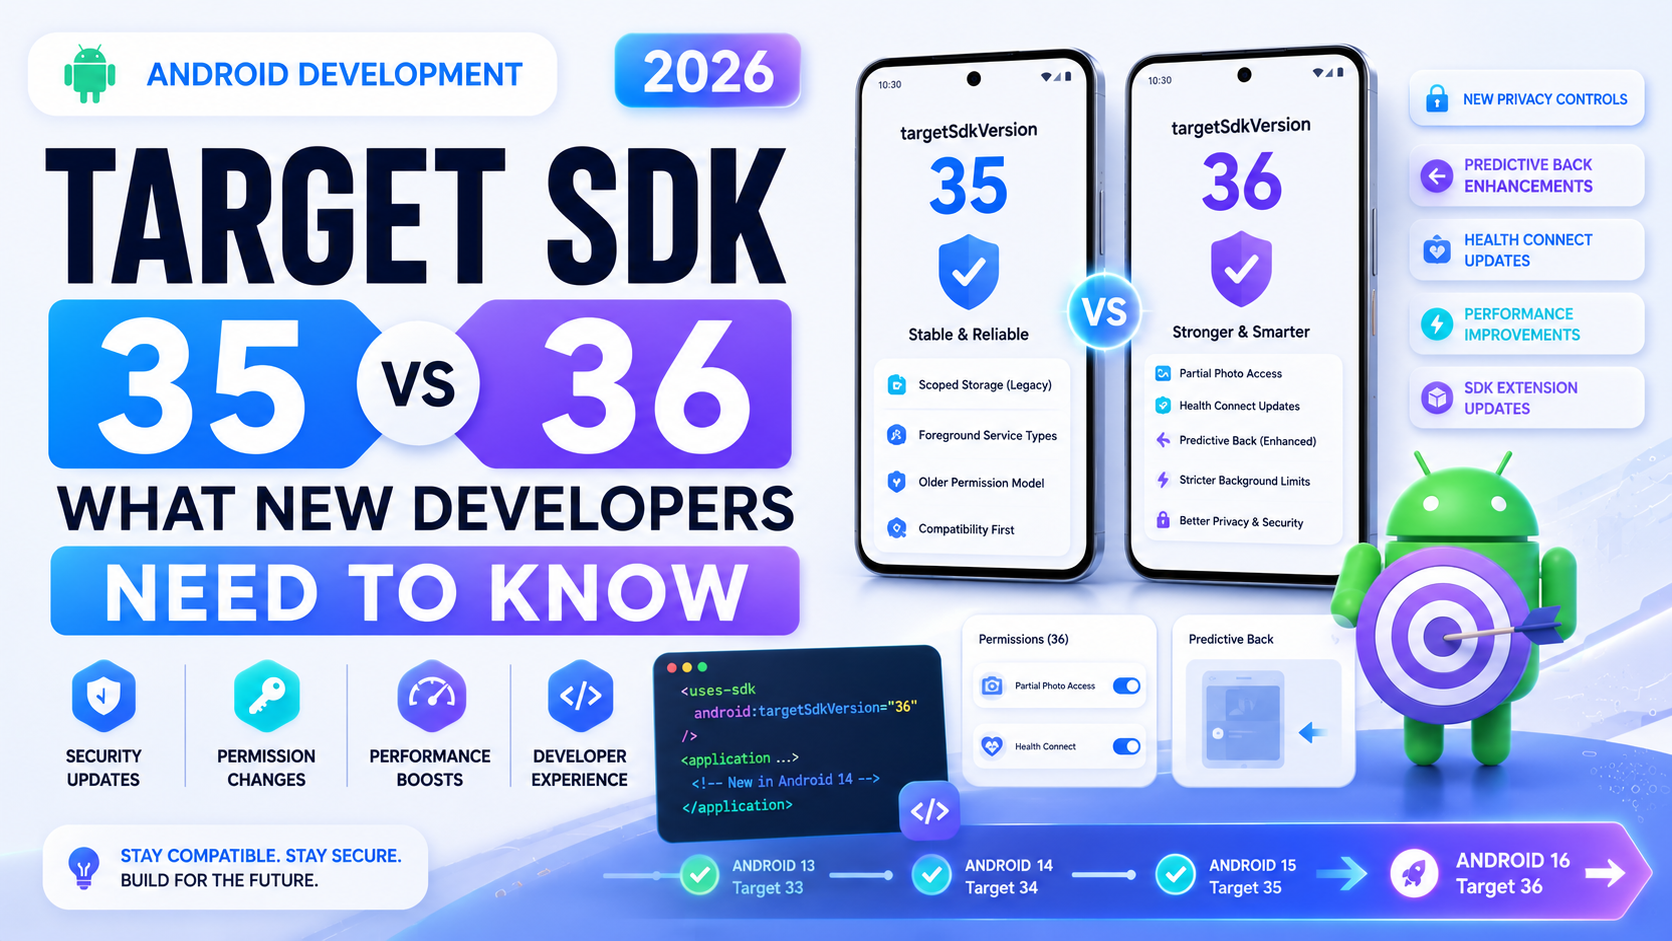
Android 14 corresponds to API level 34. Android 13 is API level 33. Android 12 is API level 32 and 31. Android 11 is API level 30. Android 10 is API level 29.
When you set a targetSdkVersion or minSdkVersion in your app’s build file, you are referencing these API levels. If you set minSdkVersion to 26, your app will only install on devices running Android 8.0 or higher.
This is why having the right Android SDK Platforms installed matters. If you want to build and test against Android 14, you need the Platform for API level 34 on your development machine. Without it, your project will fail to compile.
How to Open the SDK Manager in Android Studio
Most developers manage Android SDK Platforms and Tools through Android Studio’s built-in SDK Manager. It is straightforward to access.
Open Android Studio. Go to the top menu and click on Tools, then select SDK Manager. A window will open with two main tabs that matter: SDK Platforms and SDK Tools.
The SDK Platforms tab shows you all the Android versions available. Each one has a checkbox. Checked items are installed. Unchecked items can be installed by checking them and clicking Apply.
The SDK Tools tab shows utilities like build tools, platform tools, the emulator, NDK, and other components. This is where you manage the tools side of Android SDK Platforms and Tools.
If you prefer working without Android Studio, the command-line sdkmanager binary handles all of this from the terminal — which is covered in detail later in this guide.
Breaking Down the SDK Platforms Tab
When you open the SDK Platforms tab, each row represents one version of Android. You will usually see a checkbox and some version information.
For each platform, there is something called “Android SDK Platform X” where X is the API level. There is also a “Sources for Android X” package that downloads the source code for that API level — useful for debugging third-party libraries that use platform APIs.
In 2026, most developers should have at minimum the following platforms installed: the latest stable release (API 35 or whichever is current), the version that matches their app’s targetSdkVersion, and possibly one or two older versions for backward-compatibility testing.
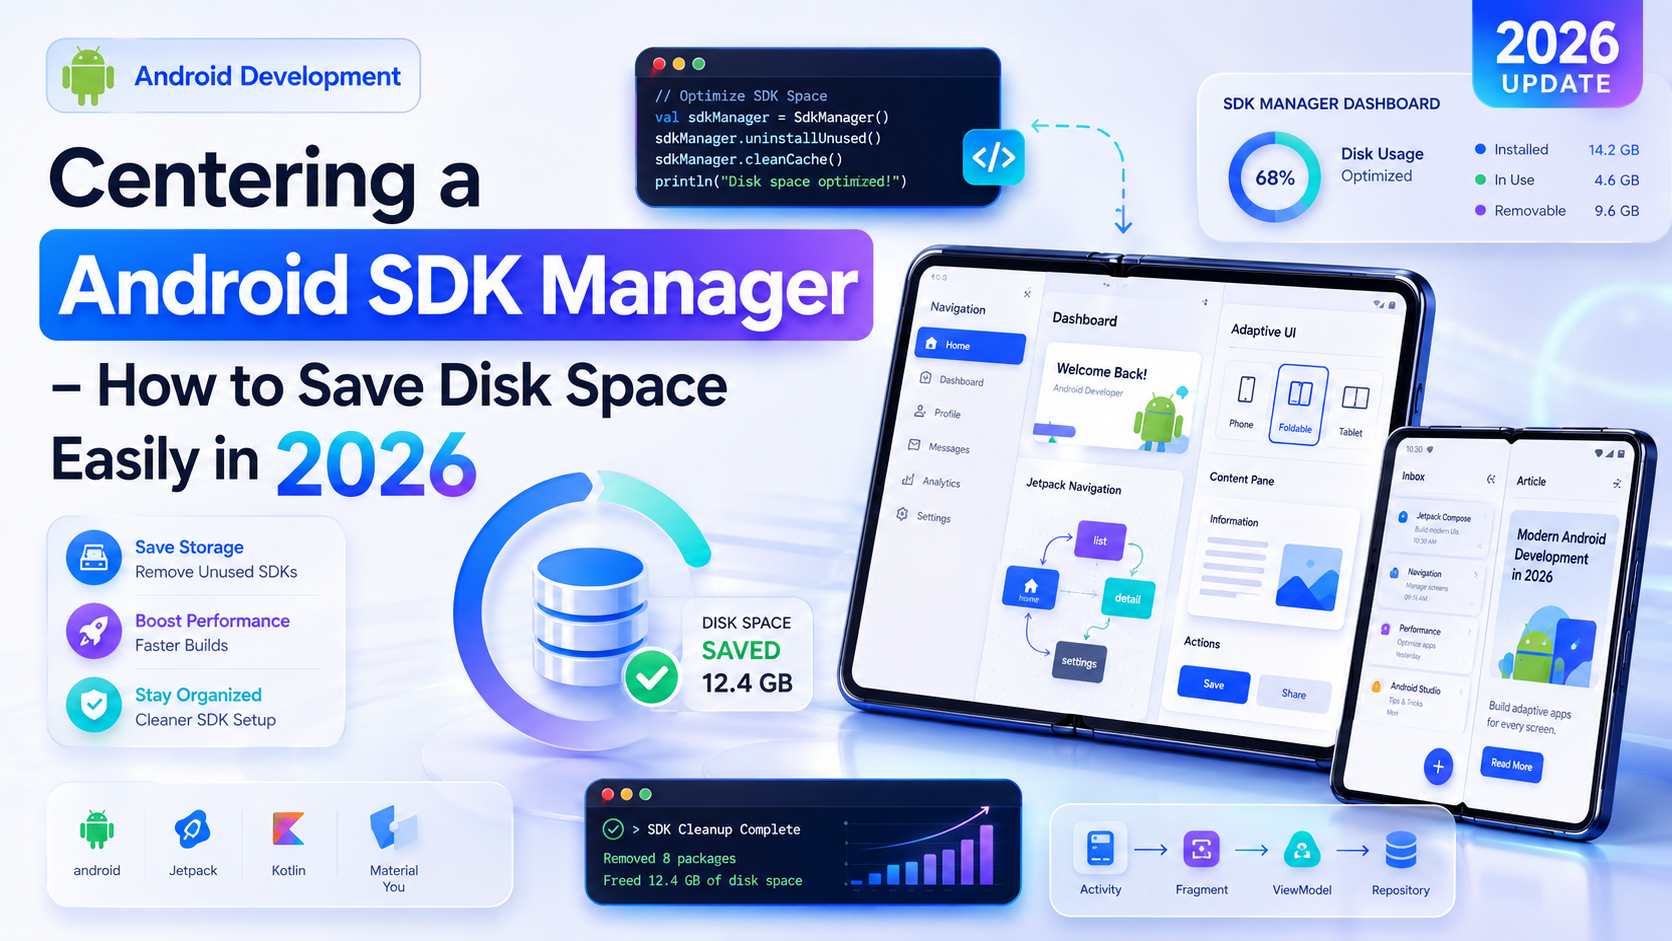
You do not need every platform installed. Installing every single Android version will eat up significant disk space unnecessarily. Be intentional about which platforms you actually need for your project.
Breaking Down the SDK Tools Tab
This is where the actual utilities live. The SDK Tools tab is sometimes more important to understand because these are the programs that run behind the scenes every single time you build or test your app.
Here are the key components you will find under Android SDK Platforms and Tools in the SDK Tools section:
Android SDK Build-Tools is probably the most critical. These are the actual compilation tools — aapt2, d8, zipalign — that transform your Kotlin or Java source code into a runnable APK or AAB file. You will often need a specific version of build tools to match your project’s configuration.
Android SDK Platform-Tools is a separate package that includes ADB (Android Debug Bridge), fastboot, and a few other utilities. ADB is what lets you communicate with physical Android devices and emulators from your computer.
Android Emulator is the package that lets you run virtual Android devices on your computer. Without this, you can only test on physical hardware.
Android SDK Command-Line Tools is the standalone set of terminal utilities discussed in other guides. It is listed here as an installable component.
Why You Sometimes Need Multiple Build-Tools Versions
This confuses a lot of people. Why would you need more than one version of build tools installed?
The short answer is that different projects may require different versions. If you are working on multiple Android projects, one might specify buildToolsVersion "33.0.2" in its Gradle config, and another might require buildToolsVersion "34.0.0". If you only have one version installed, one of those projects will fail to build.
When you open an older Android project that someone else built, it is very common to get an error saying a specific build-tools version is missing. The fix is simple — just install that version through the SDK Manager or via sdkmanager "build-tools;33.0.2" on the command line.
Over time, old build-tools versions can pile up on your system. It is fine to periodically clean up versions you no longer use.
How to Install Android SDK Platforms and Tools via Command Line
For developers who work without Android Studio, or who are setting up automated build environments, managing Android SDK Platforms and Tools through the command line is essential.
The tool for this is sdkmanager, which is part of the Android SDK Command-Line Tools package.
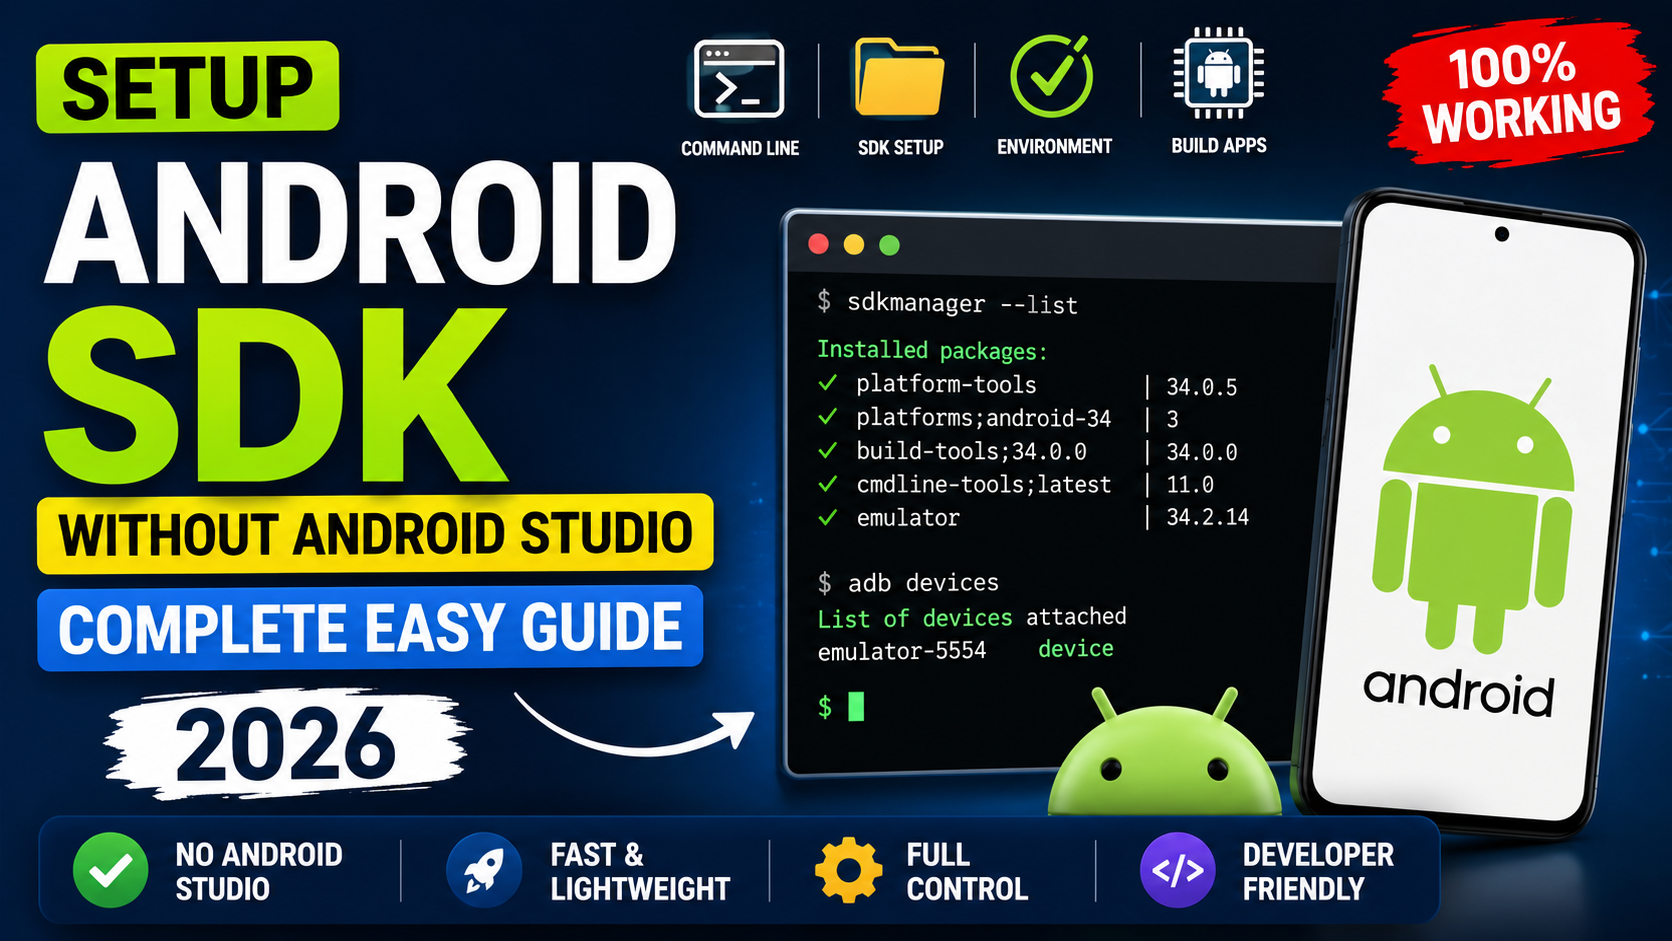
To list everything currently installed and available:
sdkmanager –list
To install a specific platform:
sdkmanager “platforms;android-34”
To install platform tools (includes ADB):
sdkmanager “platform-tools”
To install a specific build-tools version:
sdkmanager “build-tools;34.0.0”
To install the emulator:
sdkmanager “emulator”
To install a system image for the emulator (needed to create virtual devices):
sdkmanager “system-images;android-34;google_apis;x86_64”
All of these are components of Android SDK Platforms and Tools that you may need depending on what you are building and how you are testing it.
Setting Up a System Image and Creating an Emulator
Once you have the emulator package and a system image installed, you can create a virtual Android device using avdmanager.
avdmanager create avd –name “TestDevice_API34” –package “system-images;android-34;google_apis;x86_64” –device “pixel_6”
This creates a virtual Pixel 6 running Android 14. You can then launch it with:
emulator -avd TestDevice_API34
If you are setting this up on a CI server without a display, add the -no-window flag to run it headlessly.
This whole workflow — system images, emulator creation, and launching — is all part of how Android SDK Platforms and Tools work together as an ecosystem.
Understanding the Relationship Between compileSdkVersion and Installed Platforms
In your Android project’s build.gradle file, you will see a line like:
compileSdk 34
This tells Gradle which version of the Android SDK to compile your code against. For this to work, the corresponding platform must be installed. If you write compileSdk 34 but have not installed the Android SDK Platform for API 34, your build will immediately fail with an error.
This is one of the most common errors beginners run into when they first clone someone else’s project. The solution is always to open the SDK Manager and install the missing platform.
Your compileSdk does not have to match your targetSdk exactly, but they are usually the same or one apart. The compile version tells the compiler which APIs are available. The target version tells the Play Store and the Android system how to treat your app in terms of behavior compatibility.
Keeping Android SDK Platforms and Tools Updated
Google regularly releases updates to Android SDK Platforms and Tools. These updates can include security patches, bug fixes for the tools themselves, or support for new Android features.
In Android Studio, you will see a notification in the SDK Manager when updates are available. It is generally a good idea to keep platform tools updated, especially ADB, since newer versions often fix connection issues with newer physical Android devices.
Build tools updates are a bit more nuanced. Updating build tools mid-project can occasionally introduce subtle build issues, so it is best practice to update at the start of a new project or after a stable point in your current one.
Platform updates (new Android API levels) should be installed when you are ready to target that API level, or when Google requires it for Play Store submissions — which they do periodically update their requirements on.
Using ADB from Platform-Tools Effectively
ADB is technically part of Platform-Tools, which is a sub-package within Android SDK Platforms and Tools. But it deserves its own mention because it is so widely used.
Here are a few ADB commands that come up in daily Android development:
To check connected devices: adb devices
To install an APK onto a connected device: adb install yourapp.apk
To view real-time logs: adb logcat
To copy a file to the device: adb push localfile.txt /sdcard/
To clear an app’s data: adb shell pm clear com.example.yourapp
These commands all depend on the Platform-Tools package being installed and the adb binary being available in your system PATH. If ADB commands are not working, the first thing to check is whether platform-tools is properly installed and whether USB Debugging is enabled on your physical device.
Common Issues When Managing Android SDK Platforms and Tools
Here are a few real problems developers run into and their straightforward solutions.
Build fails saying “Failed to find Build Tools revision X.X.X” — This means the required build-tools version is not installed. Open SDK Manager, go to SDK Tools, check the version needed, and install it. Or run the sdkmanager command with that specific version string.
“Failed to find target with hash string android-XX” — The platform for that API level is not installed. Install it through SDK Manager or via sdkmanager on the command line.
ADB not finding your device even though it is connected — Try a different USB cable first. Then check that USB Debugging is on. Then run adb kill-server and adb start-server to restart the ADB daemon. This fixes the issue about 90% of the time.
Emulator extremely slow — Hardware acceleration is probably not enabled. On Windows, check if Intel HAXM or Hyper-V is configured. On Linux, ensure KVM is installed and your user has permission to use it.
SDK Manager shows no packages available — This is usually a network or proxy issue. Check your internet connection. If you are behind a corporate proxy, configure the proxy settings in Android Studio under Appearance and Behavior → System Settings → HTTP Proxy.
Best Practices for Managing Your SDK Setup
A clean, organized SDK setup saves you from a lot of headaches later. Here are a few habits worth developing early.
Keep only the platforms you actually need. Having 10 different Android SDK platforms installed creates confusion and wastes disk space. For most developers, having 2–3 recent platforms is plenty.
Stick to one SDK location. Some developers end up with multiple SDK installations — one from Android Studio, one from manual installation — and then wonder why their terminal commands are not using the right version. Set ANDROID_HOME once and stick to it.
Document your project’s required SDK components. If you are working in a team, a README file that lists the required compileSdk, targetSdk, buildToolsVersion, and any specific SDK packages will save new team members significant setup time.
Use sdkmanager --update periodically to keep things current, but test after updating to catch any unexpected issues.
Final Conclusion
Android SDK Platforms and Tools might seem like a collection of dry technical components when you first encounter them. But once you understand what each piece does and how they connect — platforms define what APIs you can use, build tools do the actual compilation, platform tools let you talk to devices, and the emulator lets you test without physical hardware — the whole system starts to make sense.
In 2026, Android SDK Platforms and Tools are better documented and easier to manage than they have ever been. Android Studio’s SDK Manager handles most of it through a clean interface, and the command-line tools give you full control when you need it for automation.
Take the time to understand this foundation properly. Developers who know their SDK setup well spend far less time debugging mysterious build errors and far more time actually building apps.
For up-to-date package information, refer to the official Android Studio release notes and the Android SDK Tools page — both are maintained by Google and reflect the latest changes.