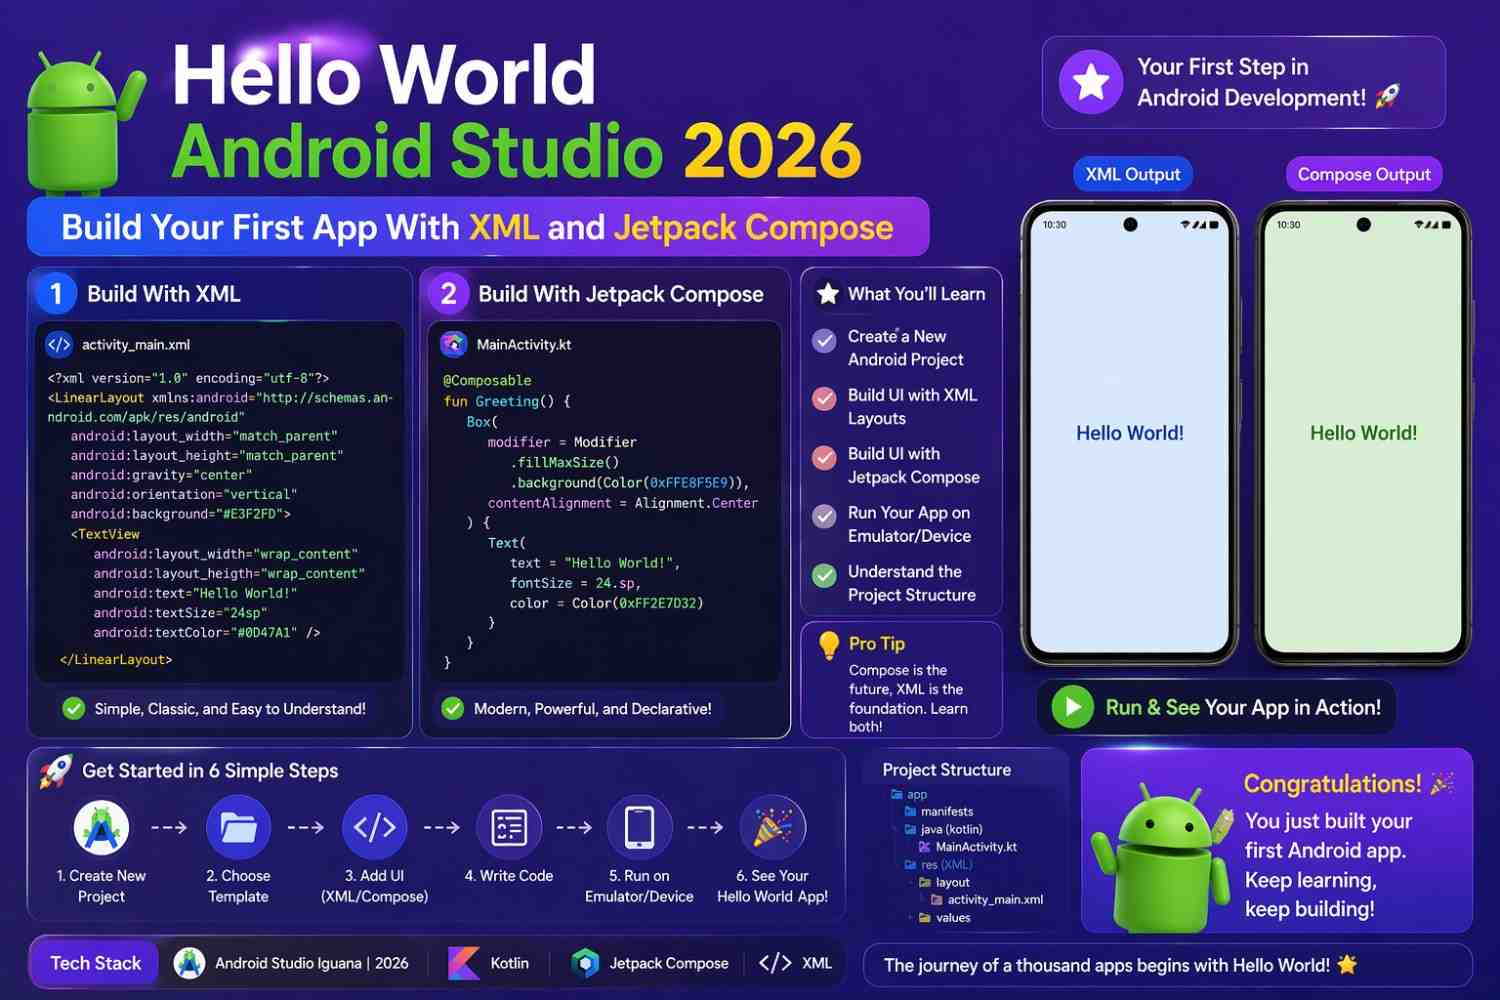
Every Android developer builds a Hello World Android Studio app at some point. It’s the traditional first step — a simple screen displaying “Hello, World!” that confirms your development environment is working and that you understand the basic structure of an Android project.
But in 2026, there are two meaningfully different ways to build even this simple app. The older way uses XML layout files. The newer way uses Jetpack Compose. If you’re just starting out, understanding the difference between these two approaches — even at a surface level — will save you significant confusion when tutorials and documentation seem to contradict each other.
This guide builds the same Hello World Android Studio app both ways, explains every line of code honestly, and gives you a clear comparison so you can make an informed decision about which learning path to follow.
Why Two Approaches Exist at All
Android’s original UI system was built around XML layout files. You describe your screen’s structure in an XML file — buttons, text views, images, containers — and your Kotlin code manipulates those views at runtime. Show this view, hide that one, change this text when a button is pressed.
This system worked for over a decade. Millions of apps were built with it. It still works today. But it had real, growing pain points — verbose XML, runtime crashes from stale view references, and a fundamental disconnect between the layout description and the logic controlling it.
Jetpack Compose, stable since 2021 and the clear default for a Hello World Android Studio project in 2026, takes a completely different approach. No XML files. You describe your UI entirely in Kotlin using annotated functions that Compose renders directly onto the screen.
Both approaches produce working apps. But they require different mental models, different project structures, and different ways of thinking about how UI relates to data. Understanding both — even at the Hello World level — gives you context that makes learning either one considerably easier.
Setting Up Before You Write Any Code
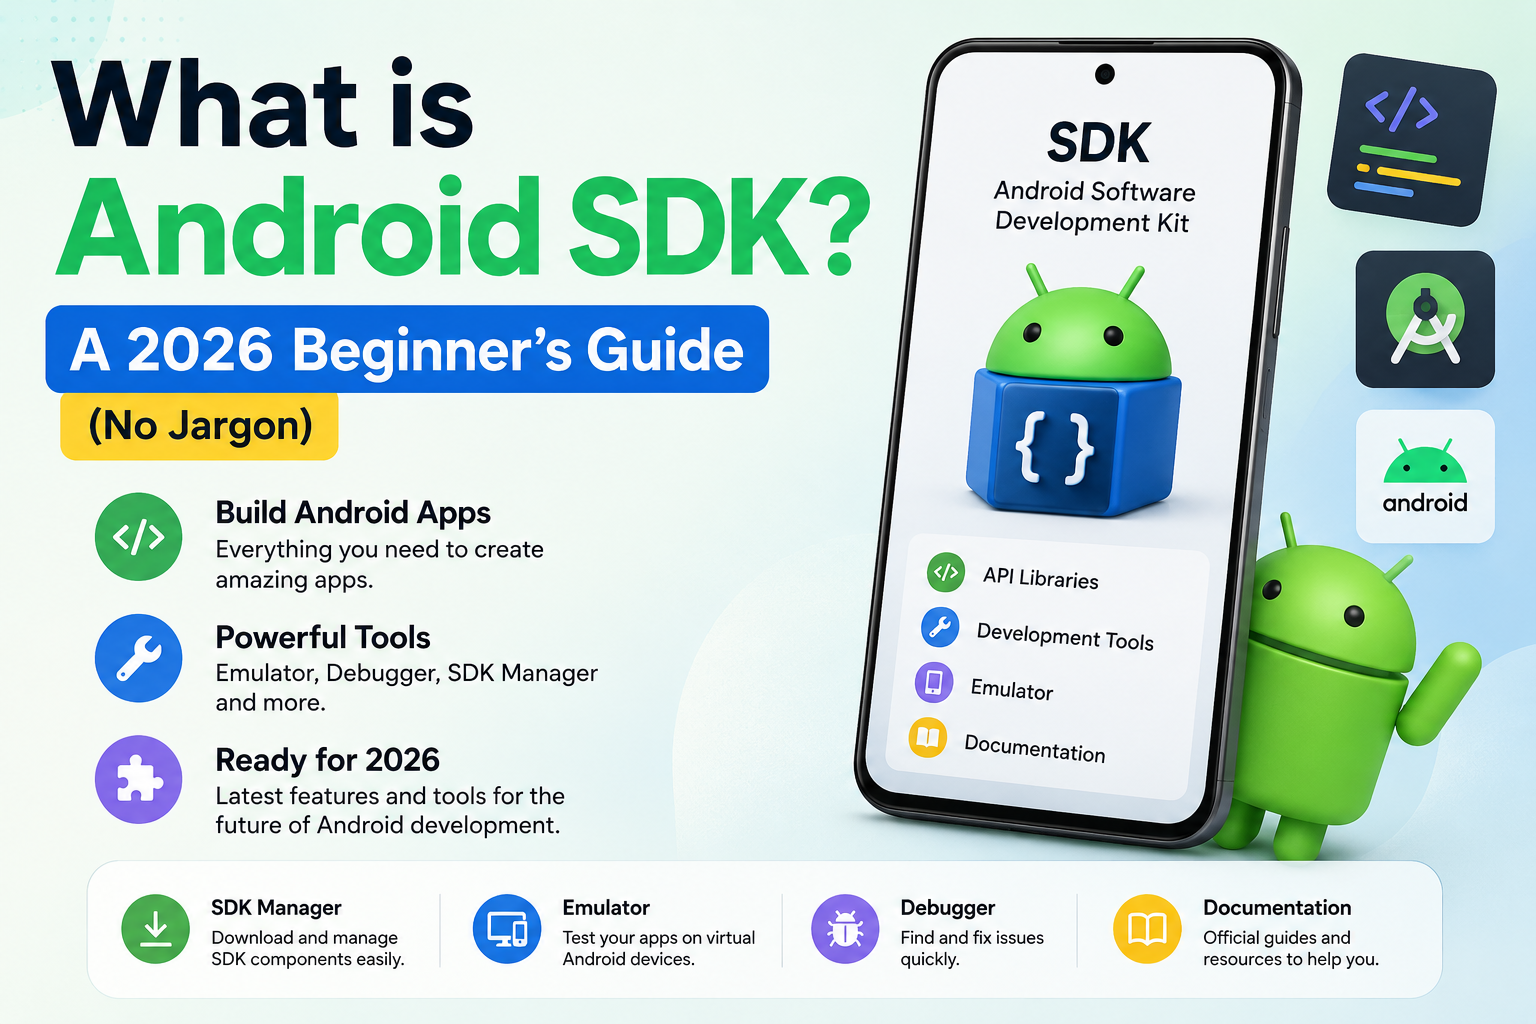
Before building either version of your Hello World Android Studio app, you need Android Studio installed with a working SDK setup. If you haven’t done that yet, verify your environment using the official Android Studio setup guide and confirm everything runs before continuing.
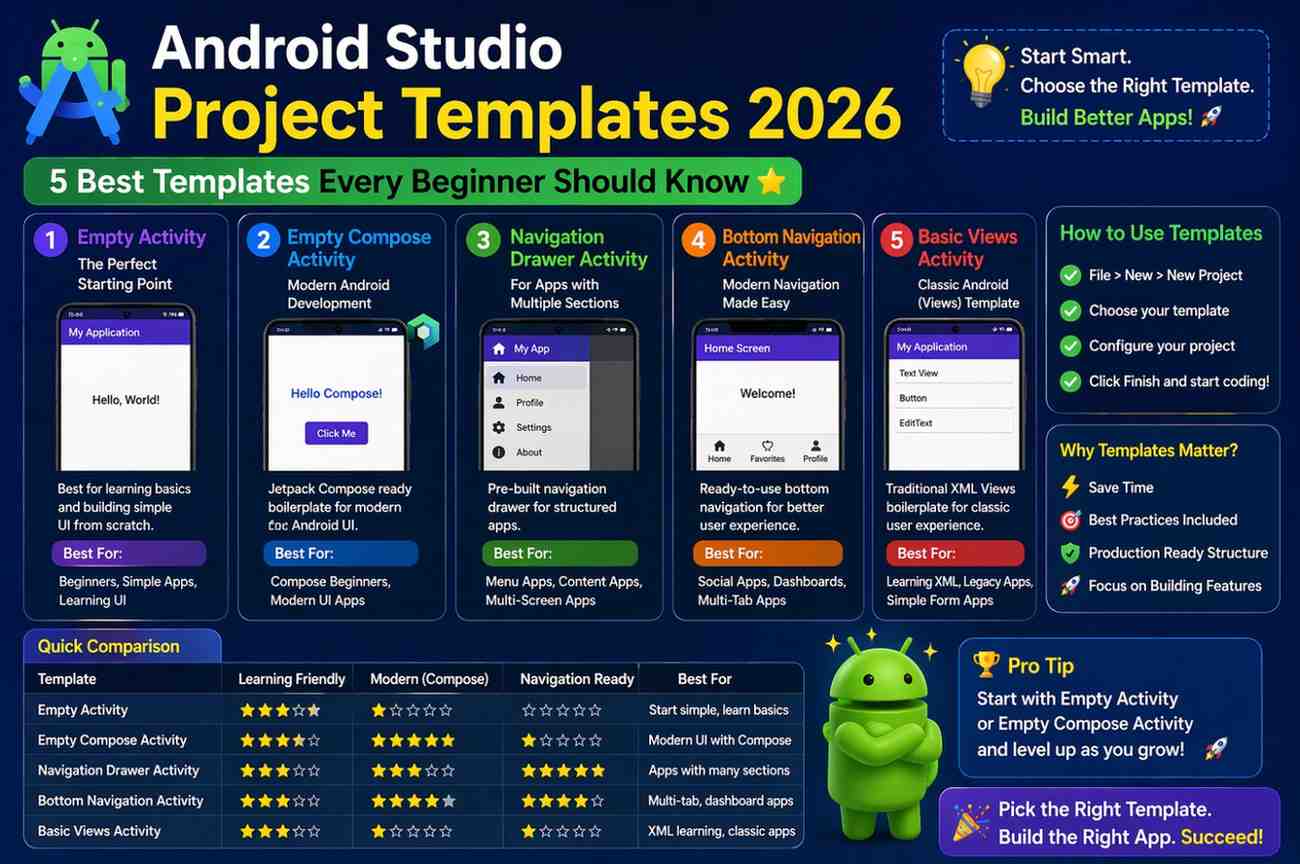
For the XML version, create a project using the Empty Views Activity template. Pay close attention to the template name — in current Android Studio versions, “Empty Activity” creates a Compose project, while “Empty Views Activity” creates an XML-based project. The naming is slightly confusing but the distinction matters a lot.
For the Compose version, use Empty Activity — the default Compose template.
Building Hello World With XML
What the Project Creates
When you create an Empty Views Activity project for your Hello World Android Studio app, Android Studio generates two main files for your first screen. MainActivity.kt handles the Activity logic, and res/layout/activity_main.xml describes the visual layout.
This two-file structure is the fundamental pattern of XML-based Android development. One file for structure, one file for behavior. They connect through ID references — strings that identify specific views and allow your Kotlin code to find and manipulate them.
The Layout File
Open res/layout/activity_main.xml. Android Studio may open it in Design view by default — click the Code tab in the top-right corner to see the raw XML:
xml
<?xml version="1.0" encoding="utf-8"?>
<androidx.constraintlayout.widget.ConstraintLayout
    xmlns:android="http://schemas.android.com/apk/res/android"
    xmlns:app="http://schemas.android.com/apk/res-auto"
    xmlns:tools="http://schemas.android.com/tools"
    android:layout_width="match_parent"
    android:layout_height="match_parent"
    tools:context=".MainActivity">

    <TextView
        android:id="@+id/greetingText"
        android:layout_width="wrap_content"
        android:layout_height="wrap_content"
        android:text="Hello, World!"
        android:textSize="28sp"
        android:textStyle="bold"
        app:layout_constraintBottom_toBottomOf="parent"
        app:layout_constraintEnd_toEndOf="parent"
        app:layout_constraintStart_toStartOf="parent"
        app:layout_constraintTop_toTopOf="parent" />

</androidx.constraintlayout.widget.ConstraintLayout>
Let’s read this carefully rather than just accepting it exists.
ConstraintLayout is the outermost container. layout_width="match_parent" and layout_height="match_parent" tell it to fill the entire screen. It positions its children using constraint rules — you attach each side of a child view to something else, and ConstraintLayout figures out placement.
TextView is the view that displays text. The four app:layout_constraint lines are the positioning rules — top constrained to parent’s top, bottom to parent’s bottom, start to parent’s start, end to parent’s end. All four constraints together center the TextView both horizontally and vertically on the screen.
android:id="@+id/greetingText" gives this view a unique identifier. The @+id/ prefix means “create a new ID called greetingText.” Your Kotlin code will use this ID to find and manipulate the view at runtime.
android:textSize="28sp" sets the font size using sp — scale-independent pixels. This is the recommended unit for text because it respects the user’s font size preference in system settings.
The Activity File
Open MainActivity.kt:
kotlin
import androidx.appcompat.app.AppCompatActivity
import android.os.Bundle
import android.widget.TextView

class MainActivity : AppCompatActivity() {

    override fun onCreate(savedInstanceState: Bundle?) {
        super.onCreate(savedInstanceState)
        setContentView(R.layout.activity_main)

        val greetingText: TextView = findViewById(R.id.greetingText)
        greetingText.text = "Hello, World! (Updated from Kotlin)"
    }
}
AppCompatActivity is the base class all XML-based Activities extend. It provides backward compatibility with older Android versions.
onCreate is the first lifecycle method called when an Activity is created. super.onCreate(savedInstanceState) calls the parent class implementation — always required. setContentView(R.layout.activity_main) is the critical line — it tells Android to find the XML file named activity_main, read its structure, and create actual View objects in memory from it.
findViewById<TextView>(R.id.greetingText) searches the created view hierarchy for a view with the ID greetingText and returns a typed reference to it. This is where the string ID from XML connects to the Kotlin code.
greetingText.text = "Hello, World! (Updated from Kotlin)" changes the displayed text at runtime. In real apps, this is how XML-based UIs get updated — find the view by ID, call a method on it.
Running the XML Version
Press Run. After the build completes, you’ll see bold “Hello, World! (Updated from Kotlin)” centered on a white screen. Simple, working, and your first Hello World Android Studio app using XML is complete.
Building Hello World With Jetpack Compose
What the Project Creates
A Compose-based Hello World Android Studio project has no activity_main.xml. There’s no res/layout folder at all. The entire UI is described in Kotlin.
Open MainActivity.kt:
kotlin
import android.os.Bundle
import androidx.activity.ComponentActivity
import androidx.activity.compose.setContent
import androidx.compose.foundation.layout.Box
import androidx.compose.foundation.layout.fillMaxSize
import androidx.compose.material3.MaterialTheme
import androidx.compose.material3.Surface
import androidx.compose.material3.Text
import androidx.compose.runtime.Composable
import androidx.compose.ui.Alignment
import androidx.compose.ui.Modifier
import androidx.compose.ui.text.font.FontWeight
import androidx.compose.ui.unit.sp
import com.example.helloworldcompose.ui.theme.HelloWorldComposeTheme

class MainActivity : ComponentActivity() {

    override fun onCreate(savedInstanceState: Bundle?) {
        super.onCreate(savedInstanceState)
        setContent {
            HelloWorldComposeTheme {
                Surface(
                    modifier = Modifier.fillMaxSize(),
                    color = MaterialTheme.colorScheme.background
                ) {
                    HelloWorldScreen()
                }
            }
        }
    }
}

@Composable
fun HelloWorldScreen() {
    Box(
        contentAlignment = Alignment.Center,
        modifier = Modifier.fillMaxSize()
    ) {
        Text(
            text = "Hello, World!",
            fontSize = 28.sp,
            fontWeight = FontWeight.Bold,
            color = MaterialTheme.colorScheme.onBackground
        )
    }
}

@Preview(showBackground = true, showSystemUi = true)
@Composable
fun HelloWorldScreenPreview() {
    HelloWorldComposeTheme {
        HelloWorldScreen()
    }
}
Let’s read this with the same care as the XML version.
ComponentActivity replaces AppCompatActivity as the base class for Compose-based Activities. It’s leaner and specifically designed for the Compose workflow.
setContent replaces setContentView. Instead of pointing to an XML file, it accepts a Kotlin lambda — a block of code — where you describe the UI directly. Everything inside setContent { } is Compose UI code.
HelloWorldComposeTheme wraps everything in the app’s Material Design theme — handling colors, typography, and shapes consistently. Surface provides a background for the content, and Modifier.fillMaxSize() makes it fill the entire screen.
The HelloWorldScreen Composable
HelloWorldScreen is a Composable function — the @Composable annotation marks it as such. Composable functions describe a piece of UI and can contain other Composable functions, building interfaces from small reusable pieces.
Box is a layout container that stacks its children. contentAlignment = Alignment.Center centers everything inside it. Modifier.fillMaxSize() makes it fill the available space — similar to match_parent in XML.
Text is Compose’s equivalent of TextView. There’s no ID. No findViewById. No reference to store. The Text is described where it belongs and Compose handles rendering.
color = MaterialTheme.colorScheme.onBackground uses the theme’s appropriate text color — this means dark mode works automatically without any extra configuration.
The Preview Feature
The @Preview annotation is worth pausing on specifically. Open the Split view in Android Studio — the Split button is in the top-right of the editor. The Design panel renders your HelloWorldScreen immediately — no build required, no emulator needed.
Change “Hello, World!” to something else and watch the preview update within seconds. Change fontSize and see it resize instantly. This real-time feedback loop is one of the most genuinely useful features of building a Hello World Android Studio app with Compose — and it only gets more valuable as your UIs grow more complex.
Running the Compose Version
Press Run. The result looks visually identical to the XML version — “Hello, World!” centered and bold on screen. The code that produced it is structurally completely different.
A Direct Comparison: XML vs Compose
File Count Per Screen
The XML approach requires at minimum two files per screen — one XML layout file, one Kotlin Activity or Fragment. For a ten-screen app, that’s twenty-plus files just for layouts before you count ViewModels or other components.
The Compose approach describes a screen in one Kotlin file. Ten screens is realistically several well-organized files. Less switching, less context overhead.
How UI Gets Updated
In XML-based development, you describe initial state in XML, then write Kotlin code to change specific views at runtime. Two languages, two mental models, connected by string IDs that only fail at runtime — meaning typos produce crashes rather than build errors.
In Compose, you describe the UI for a given state in Kotlin. When state changes, Compose re-renders the affected portions automatically. One language, one mental model, no IDs, no runtime view manipulation.
Dark Mode Handling
XML-based dark mode requires separate color resources and careful use of theme attributes. Done incorrectly, your app looks wrong in dark mode.
Compose handles dark mode automatically when you use MaterialTheme.colorScheme values. The theme switches between light and dark palettes based on the system setting — no extra work required in a properly set-up Hello World Android Studio Compose project.
Practical Code Comparison
Here’s the same “change text when button is pressed” feature in both approaches — the clearest illustration of the practical difference:
XML approach:
kotlin
val messageText = findViewById<TextView>(R.id.messageText)
val changeButton = findViewById<Button>(R.id.changeButton)

changeButton.setOnClickListener {
    messageText.text = "Button was pressed!"
}
Compose approach:
kotlin
@Composable
fun MessageScreen() {
    var message by remember { mutableStateOf("Hello, World!") }

    Column(horizontalAlignment = Alignment.CenterHorizontally) {
        Text(text = message, fontSize = 24.sp)
        Button(onClick = { message = "Button was pressed!" }) {
            Text("Change")
        }
    }
}
The Compose version has no IDs, no findViewById, no listener registration. The button’s click action directly modifies message, and Compose automatically updates the Text that displays it. The relationship between data and UI is visible in the same block of code.
Which Should You Learn in 2026?
Start With Compose if You’re Starting Fresh
If you’re beginning Android development now, learn Compose. Google’s documentation, official samples, new library features, and recent Stack Overflow answers are all Compose-first. Every Hello World Android Studio tutorial published in the last two years assumes Compose. Learning it now means learning in the direction the platform is actively moving.
The official Jetpack Compose documentation is the best starting point — well-maintained, regularly updated, and written specifically for beginners coming from zero Android experience.
Learn XML Concepts as You Encounter Them
Understanding XML concepts — layouts, views, IDs, setContentView — has real ongoing value for reading older projects, following pre-2022 tutorials, and working on existing apps that haven’t migrated to Compose yet. But you don’t need to deeply learn both simultaneously from day one. Pick up XML as you encounter it rather than making it a parallel primary focus.
For Job Seekers
Most new Android projects in 2026 use Compose. Most existing large codebases still have significant XML. Being conversant in both makes you more versatile in interviews and on the job — and building a Hello World Android Studio app both ways, as this guide does, is a solid starting point for that familiarity.
Final Conclusion
Building a Hello World Android Studio app is the traditional first step — and doing it two ways reveals something genuinely significant about where Android development stands in 2026. The XML version shows you the system that built Android for over a decade — structured, familiar, still powering millions of live apps. The Compose version shows you the system being actively developed today — concise, consistent, and aligned with how modern UI frameworks across all platforms are evolving.
Both versions of your Hello World Android Studio app look identical on screen. The journey of building more complex apps on each foundation is where the differences become substantial — and where Compose’s advantages compound over time.
Build both. Understand what each line does. Then commit to Compose as your primary learning path. The foundation you build on matters, and in 2026, Compose is the stronger one to build on