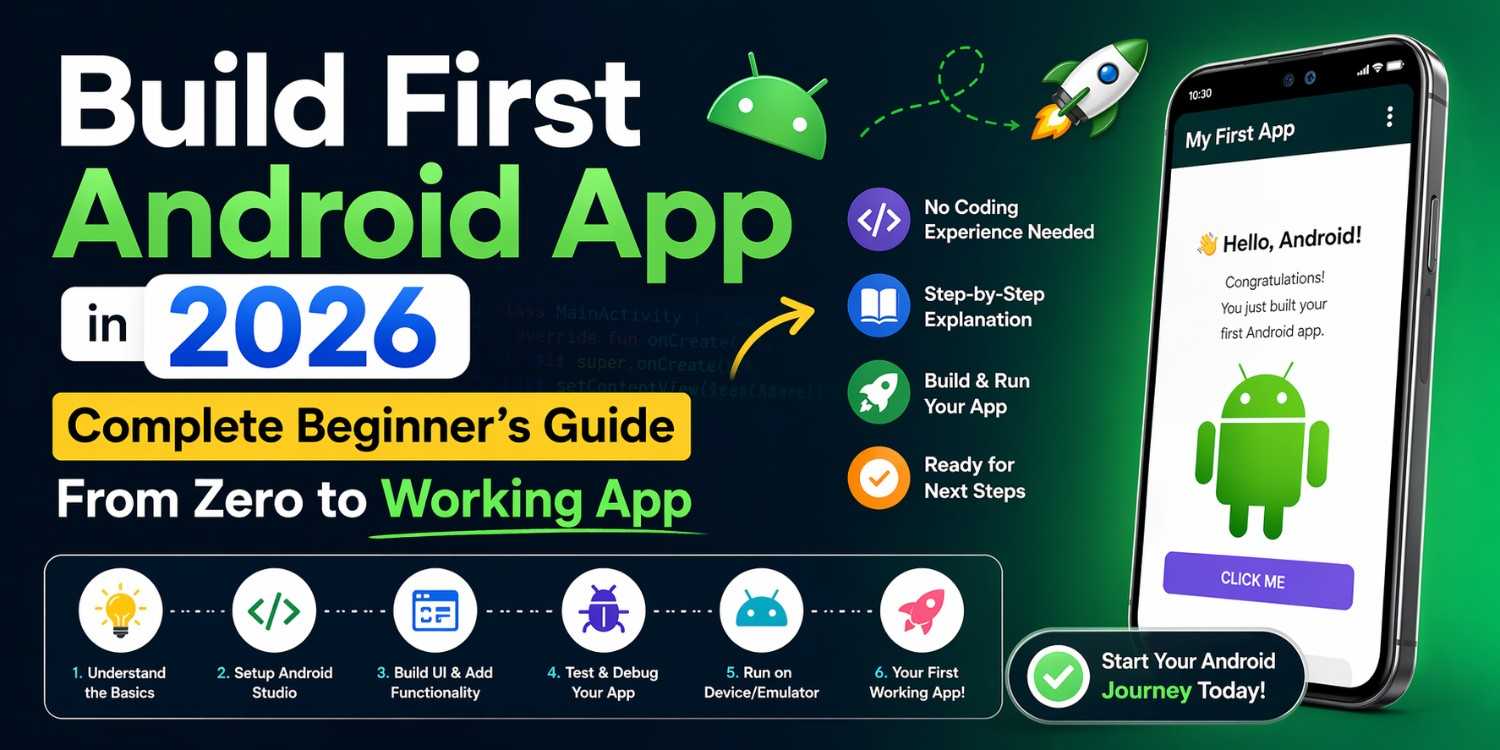
Deciding to build first Android app is exciting. Then you open Android Studio, stare at the screen, and suddenly nothing feels as clear as it did five minutes ago. That moment is completely normal — and this guide exists specifically for it.
To build first Android app successfully, you don’t need a computer science degree. You don’t need years of coding experience. What you do need is a realistic plan, the right tools, and enough patience to push through the early confusion. This guide gives you all three — honestly, practically, and without the usual fluff.
Set Realistic Expectations Before You Write a Single Line
Here’s something most beginner guides skip: managing your own expectations is genuinely part of the process when you build first Android app.
Your first app won’t be perfect. It won’t have a beautiful design. Some features you imagined will turn out harder than expected. That’s not failure — that’s literally how every developer’s first project goes, without exception.
The right goal for your first app is simple: make something that works, and understand why it works. Not “make something impressive.” Not “publish it immediately.” Just build it, run it, and actually understand what you wrote. That understanding is the real outcome.
The Three Things You’re Learning Simultaneously
When you build first Android app, you’re actually learning three separate things at the same time. Knowing this upfront prevents a lot of confusion.
Kotlin is the programming language. It’s the actual instructions you give the computer — store this value, check this condition, repeat this action. Everything else depends on understanding Kotlin at a basic level first.
Jetpack Compose is how you build the visual parts of your app — the buttons, text, lists, and screens the user actually sees and touches. In 2026, Compose is the standard approach for Android UI development.
Android platform concepts cover how apps are structured, how data is stored, how the app behaves when the user rotates their phone or switches to another app.
You learn all three together, but in a natural progression. Don’t try to master all three simultaneously from day one — let them build on each other as you go.
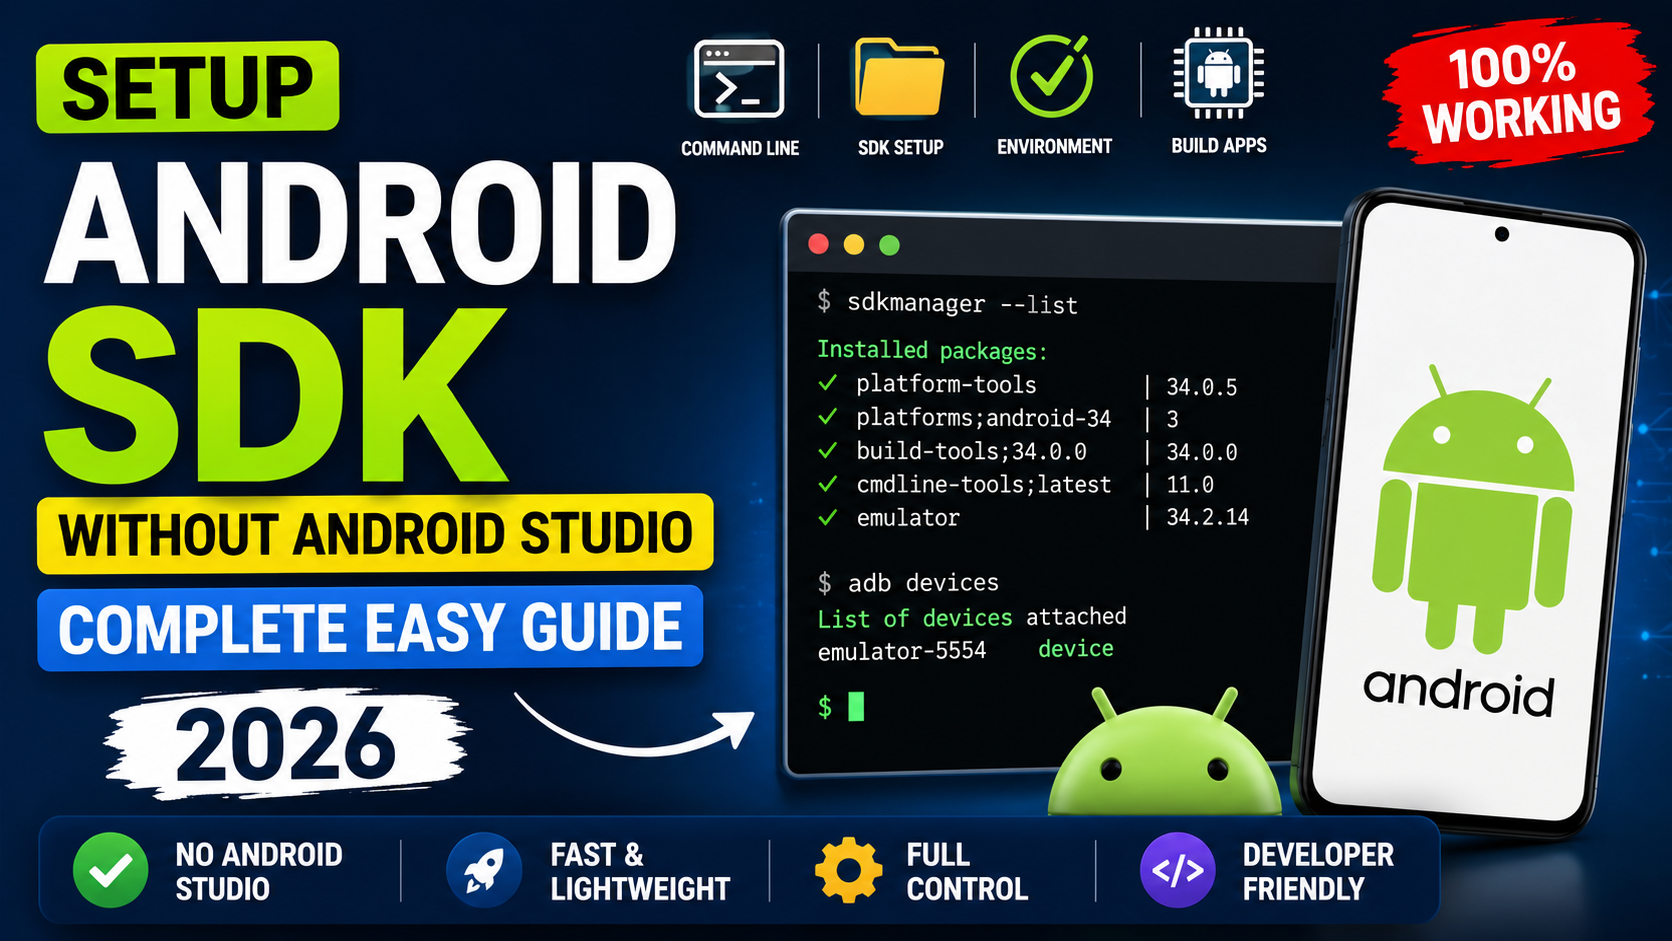
Setting Up Android Studio the Right Way
Download and Install Without Skipping Steps
Go to developer.android.com/studio and download Android Studio. It’s completely free. Run the installer and — this matters — don’t skip any step in the setup wizard.
When it asks about installing the Android SDK, the emulator, and system images, keep everything selected. These are not optional extras. They’re the actual tools that make Android development work on your machine.
First-time setup can take 30 to 60 minutes because it downloads several gigabytes of components. Let it finish completely before moving forward.
Verify Everything Actually Works
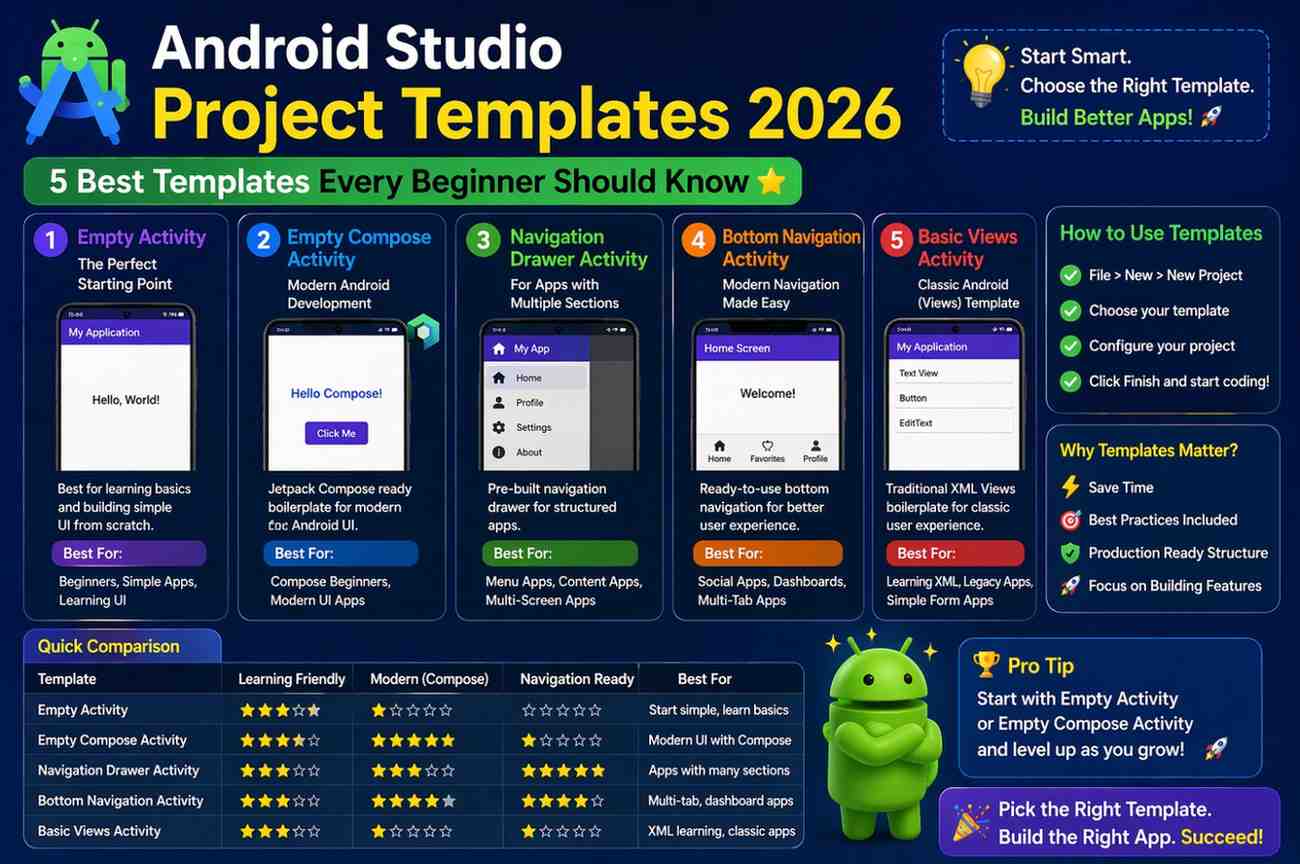
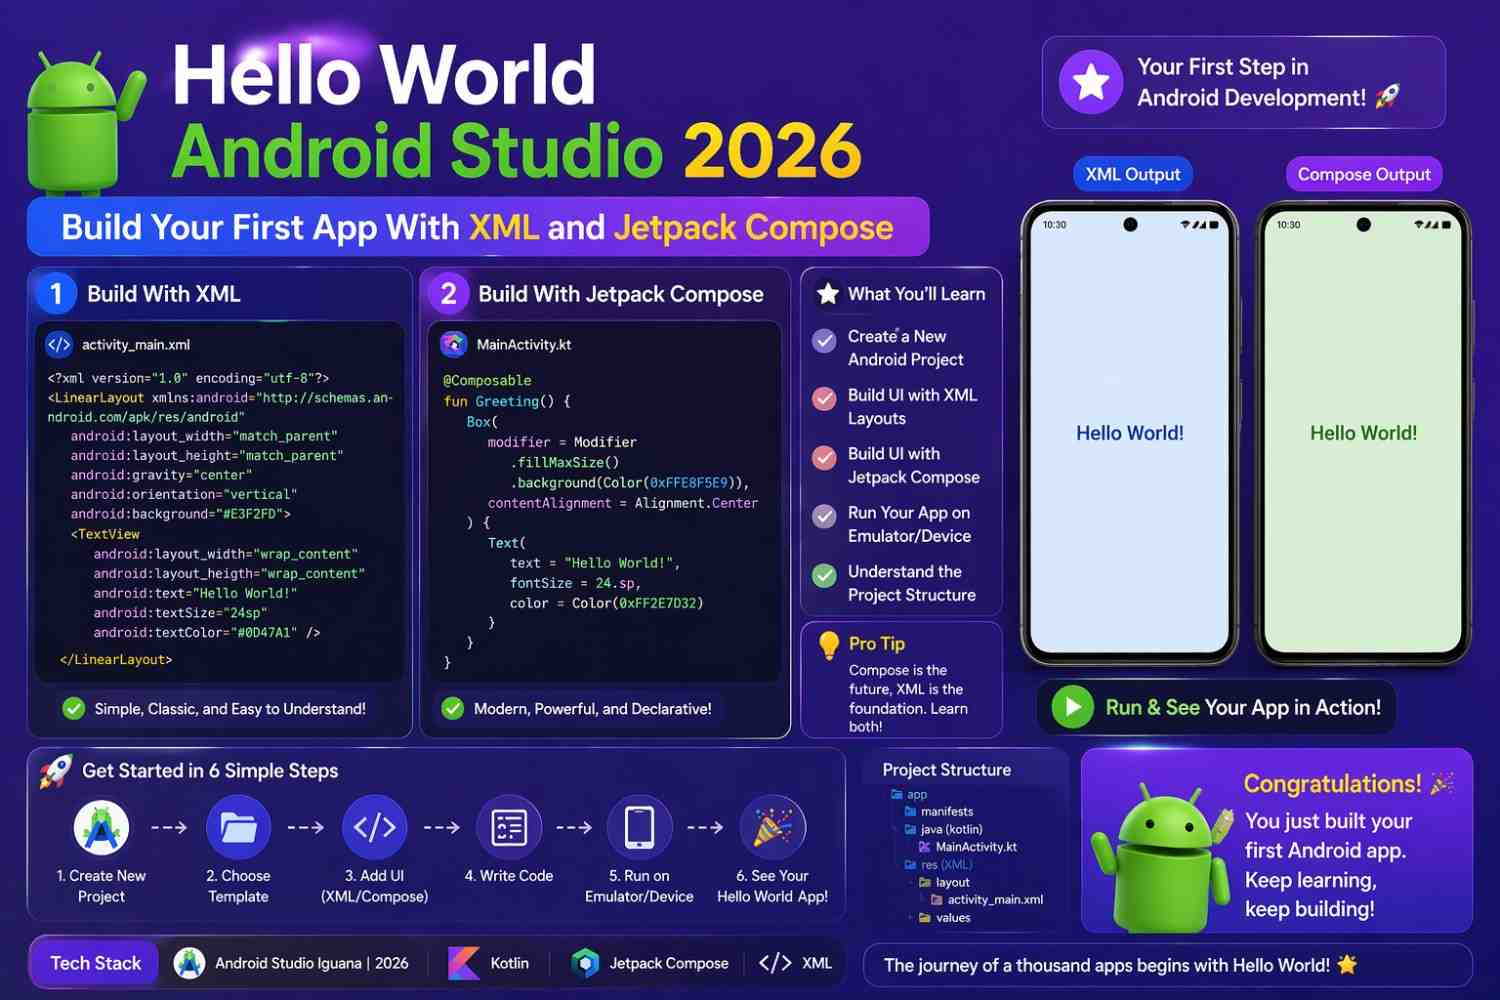
After installation, create a quick test project. Choose Empty Activity, set the language to Kotlin, and hit Finish. Once Gradle sync completes, open Tools → Device Manager, create a Pixel emulator, download the latest system image, and run the project.
If you see “Hello Android!” on the emulator screen, your setup is working. This verification step saves a lot of confusion later. Don’t assume it works — confirm it.
Learn Just Enough Kotlin First
You don’t need to become a Kotlin expert before you build first Android app. But you do need to understand the basics well enough that code doesn’t look completely foreign to you.
Variables Store Your Data
kotlin
val appName = "My Reading List"   // fixed, cannot change
var itemCount = 0                  // flexible, can be updated

itemCount = 5   // perfectly fine
Use val when a value won’t change. Use var when it will. Most beginner confusion about variables disappears once this distinction is clear.
Functions Do Specific Jobs
kotlin
fun showWelcome(name: String): String {
    return "Welcome, $name!"
}

val message = showWelcome("Riya")
Functions let you write logic once and reuse it anywhere. In Android development, almost everything happens inside functions — including your entire UI.
Lists Hold Multiple Items
kotlin
val books = mutableListOf("Atomic Habits", "Deep Work")
books.add("Sapiens")
Real apps are full of lists — messages, contacts, notes, products. Knowing how to create and work with lists is something you’ll use from your very first screen.
Spend a few days on these fundamentals using Kotlin Playground — no setup needed, runs directly in your browser.
Understanding Jetpack Compose for Beginners
What a Composable Actually Is
Every visible element in a Compose app is a function with @Composable on it. That annotation tells Android Studio: this function creates UI, not just logic.
kotlin
@Composable
fun WelcomeMessage(name: String) {
    Text(
        text = "Hello, $name!",
        style = MaterialTheme.typography.headlineMedium
    )
}
That’s it. One function, one annotation, one visible element on screen. Everything in Compose follows this same pattern — nested Composable functions describing what the screen should look like.
State Is Why Your UI Updates
This is the concept that trips up most beginners when they build first Android app — and it’s worth spending real time on.
In Compose, your UI doesn’t update automatically when a variable changes. It updates when observable state changes. Those are two different things.
kotlin
@Composable
fun TapCounter() {
    var count by remember { mutableStateOf(0) }

    Column(horizontalAlignment = Alignment.CenterHorizontally) {
        Text(text = "Tapped: $count times")
        Button(onClick = { count++ }) {
            Text("Tap")
        }
    }
}
remember { mutableStateOf(0) } creates state that Compose watches. When count changes, Compose automatically re-renders the Text. Without remember and mutableStateOf, the UI never updates no matter how many times the button is tapped.
Build this counter. Run it. Tap the button. Watch it update. That small experiment teaches you more about Compose state than a dozen paragraphs of explanation.
Build First Android App: A Practical Book List Project
The best way to build first Android app is with a project that’s simple but feels real. A personal book list — where you can add books and see them in a scrollable list — covers the core skills without becoming overwhelming.
Your Main Screen Structure
kotlin
@Composable
fun BookListScreen() {
    var books by remember {
        mutableStateOf(listOf("Deep Work", "Atomic Habits"))
    }
    var showDialog by remember { mutableStateOf(false) }

    Scaffold(
        topBar = { TopAppBar(title = { Text("My Books") }) },
        floatingActionButton = {
            FloatingActionButton(onClick = { showDialog = true }) {
                Icon(Icons.Default.Add, contentDescription = "Add")
            }
        }
    ) { padding ->
        LazyColumn(
            contentPadding = padding,
            modifier = Modifier.fillMaxSize()
        ) {
            items(books) { book ->
                BookCard(title = book)
            }
        }
    }

    if (showDialog) {
        AddBookDialog(
            onAdd = { newBook ->
                books = books + newBook
                showDialog = false
            },
            onDismiss = { showDialog = false }
        )
    }
}
Scaffold handles the standard app layout. LazyColumn renders a scrollable list efficiently — it only renders items that are actually visible on screen, which matters for longer lists.
Individual Book Card
kotlin
@Composable
fun BookCard(title: String) {
    Card(
        modifier = Modifier
            .fillMaxWidth()
            .padding(horizontal = 16.dp, vertical = 6.dp)
    ) {
        Text(
            text = title,
            style = MaterialTheme.typography.bodyLarge,
            modifier = Modifier.padding(16.dp)
        )
    }
}
Add Book Dialog
kotlin
@Composable
fun AddBookDialog(onAdd: (String) -> Unit, onDismiss: () -> Unit) {
    var title by remember { mutableStateOf("") }

    AlertDialog(
        onDismissRequest = onDismiss,
        title = { Text("Add a Book") },
        text = {
            OutlinedTextField(
                value = title,
                onValueChange = { title = it },
                label = { Text("Title") },
                singleLine = true
            )
        },
        confirmButton = {
            TextButton(onClick = {
                if (title.isNotBlank()) onAdd(title)
            }) { Text("Add") }
        },
        dismissButton = {
            TextButton(onClick = onDismiss) { Text("Cancel") }
        }
    )
}
Run this. Add a few books. See them appear in the list. You just successfully build first Android app with real interactive functionality — list display, floating action button, dialog input, and state management all working together.
Handling Errors Without Panicking
Read Before You Google
When something breaks and you build first Android app, the instinct is to immediately paste the error into a search engine. Resist that for thirty seconds. Read the error message first.
In the Build panel, look for lines starting with e: — that’s the actual error. In Logcat, find FATAL EXCEPTION and read the two or three lines below it. Most errors tell you exactly what went wrong and which line caused it.
Three Errors You’ll Definitely See
“Unresolved reference” means you used a name that doesn’t exist yet — possibly a typo or a missing import. Press Alt+Enter on the highlighted text and see if Android Studio offers an auto-import.
“@Composable invocations can only happen from the context of a @Composable function” means you called a Composable from a regular function. Add @Composable to the function that’s calling it.
App crashes immediately on launch — open Logcat, find the red exception text, and read it carefully. The line number it mentions is where the problem actually is.
Making Data Permanent With Room
Right now your book list disappears every time the app closes. That’s because it lives in Compose state — memory that gets cleared when the app shuts down.
Room is Android’s official local database library. You define your data as a Kotlin class with @Entity, write your database operations in a @Dao interface, and Room handles all the SQL automatically behind the scenes.
This is your natural next step after you build first Android app with working UI. Get the interface working first, then add persistence. Doing both from scratch at the same time is genuinely harder than it needs to be.
The official Room documentation is well-written and has beginner-friendly examples worth reading when you’re ready.
Small Habits That Speed Up Your Learning
Run your app after every meaningful change — not after writing fifty lines. When something breaks, you’ll immediately know which change caused it instead of debugging thirty possibilities at once.
Type code yourself instead of copying and pasting. The physical act of typing forces you to read every character. You’ll notice things you’d completely miss by scanning.
Use Gemini AI inside Android Studio as an explainer, not a shortcut. When you see code you don’t understand, select it, right-click, and choose Gemini → Explain This Code. Read the explanation. Then move on.
You can also explore related beginner topics like understanding Android app architecture basics once your first screen is working — it helps you understand why the code is structured the way it is.
Final Conclusion
The decision to build first Android app is one of the better things you can do as someone starting in mobile development. The learning curve is real, but in 2026 the tools, documentation, and AI assistance available to beginners are genuinely excellent.
Start with Kotlin fundamentals. Understand Compose state properly. Build the book list app in this guide completely — not partially. Handle your errors by reading them. Add Room when the UI works. Every step builds on the last one in a way that actually makes sense.
Your first app doesn’t need to impress anyone but you. It needs to run, do what you planned, and be code you actually understand. That combination — a working app you can explain — is what makes you an Android developer. Everything else grows from there.